
LEGO® NASA Apollo Saturn V
LEGO® NASA Apollo Saturn V
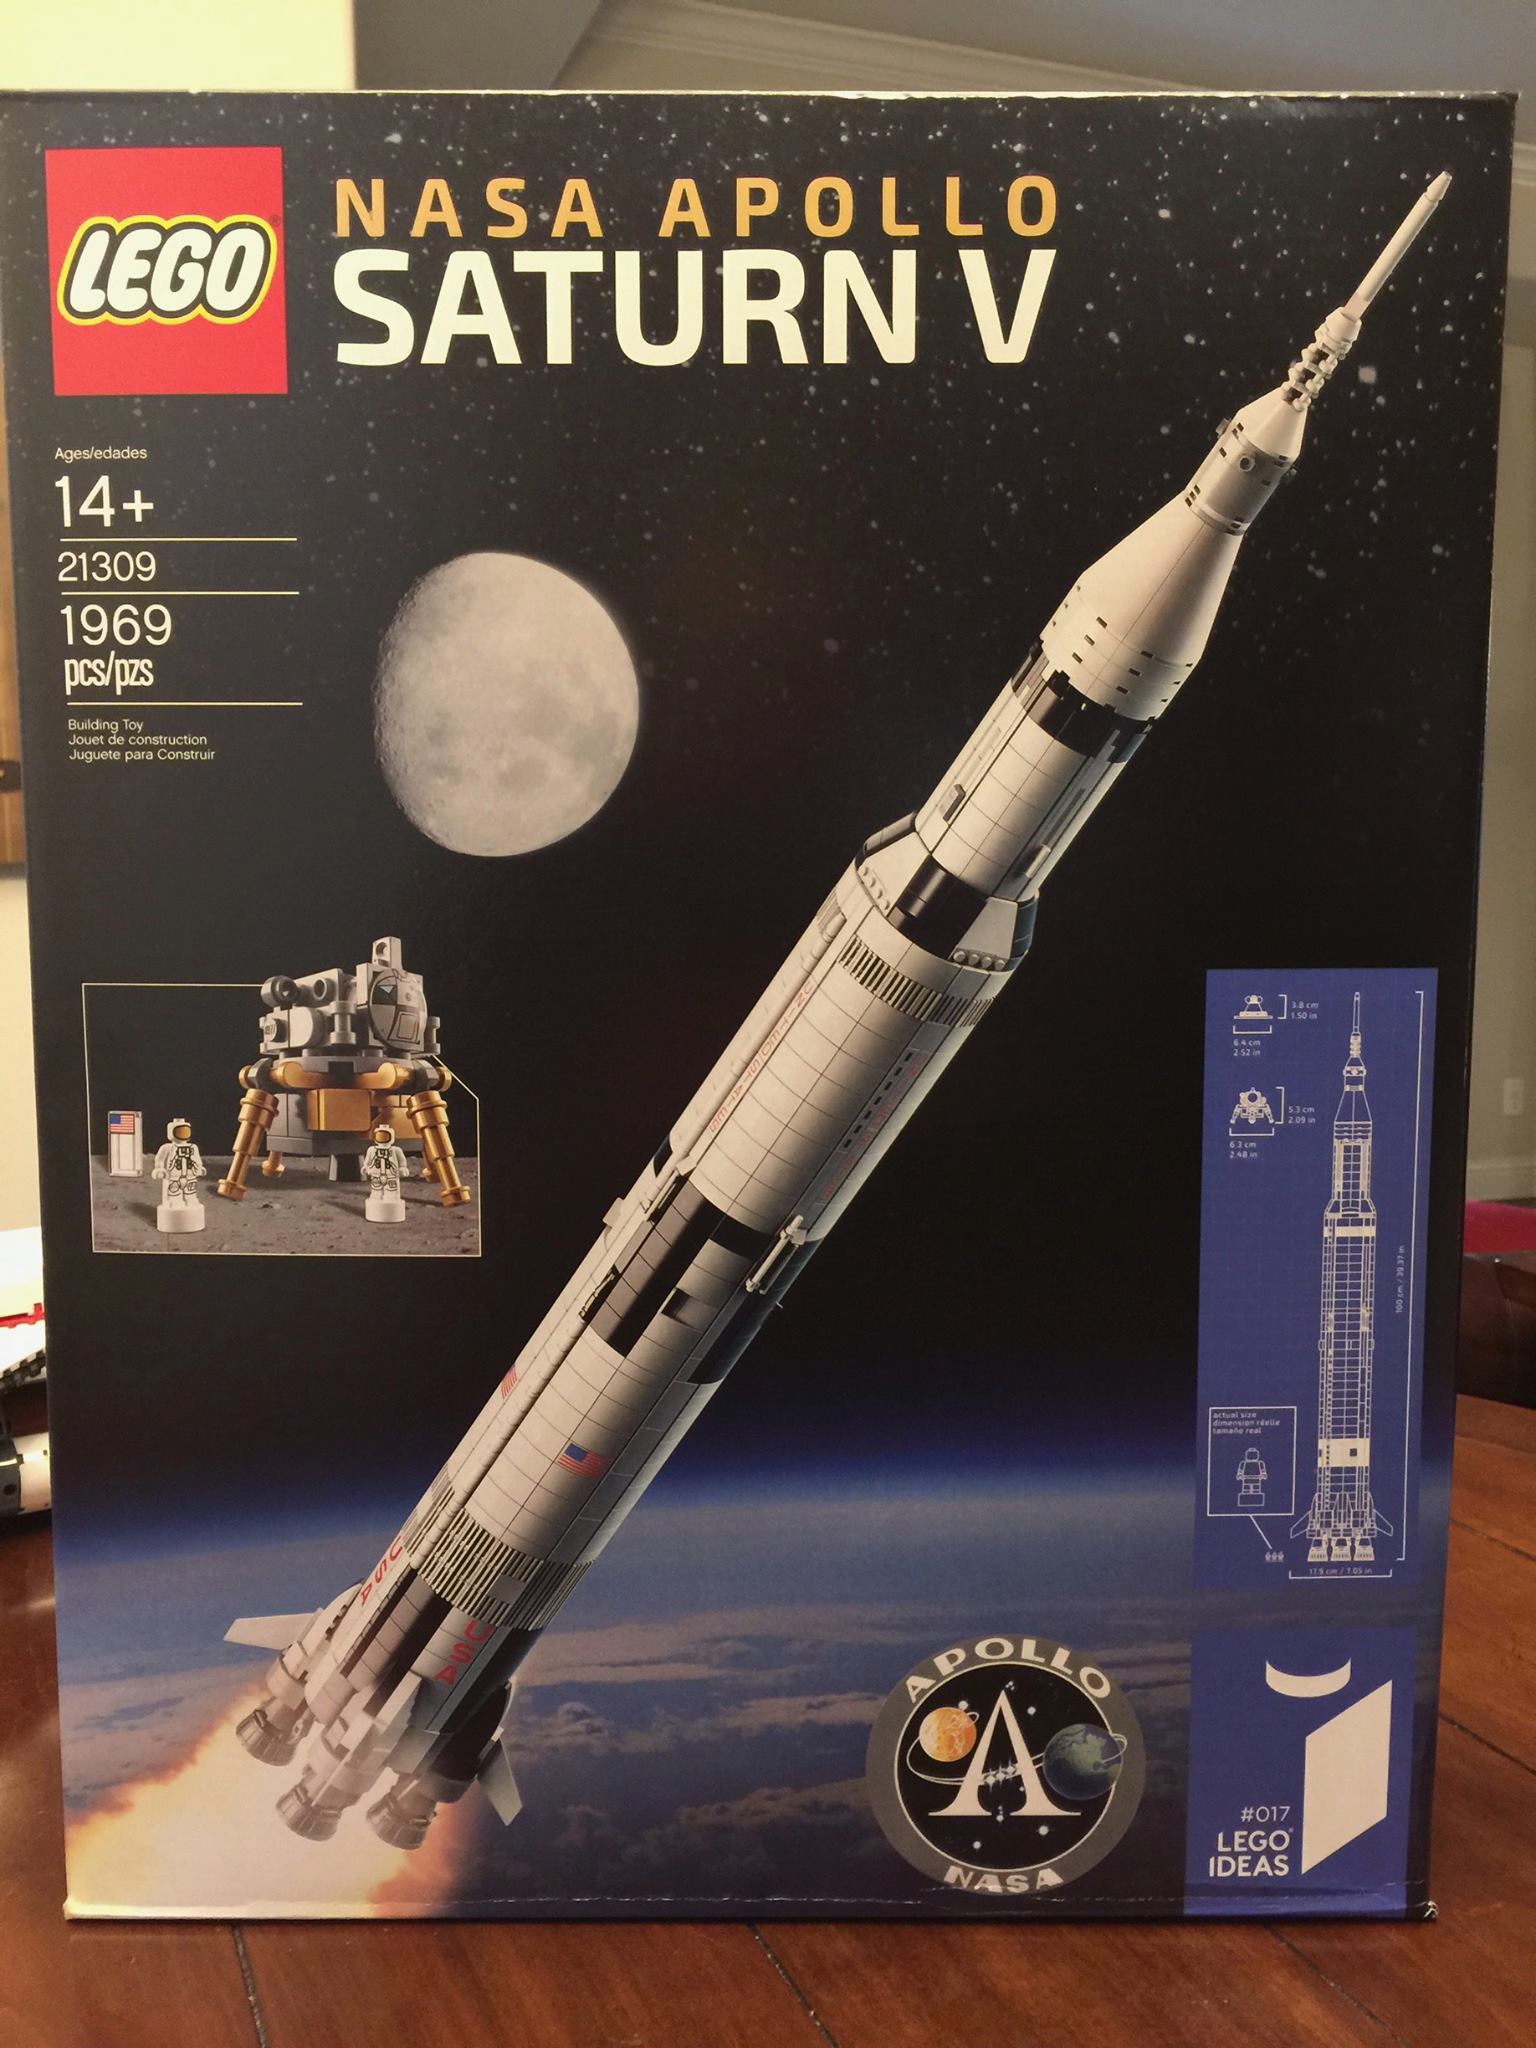


Brick Dad’s Review
I was excited to see that LEGO® was going to produce the Saturn V from the LEGO® Ideas submission. When I got this set on Father’s Day, I was even more excited! It is everything that I would want and more!
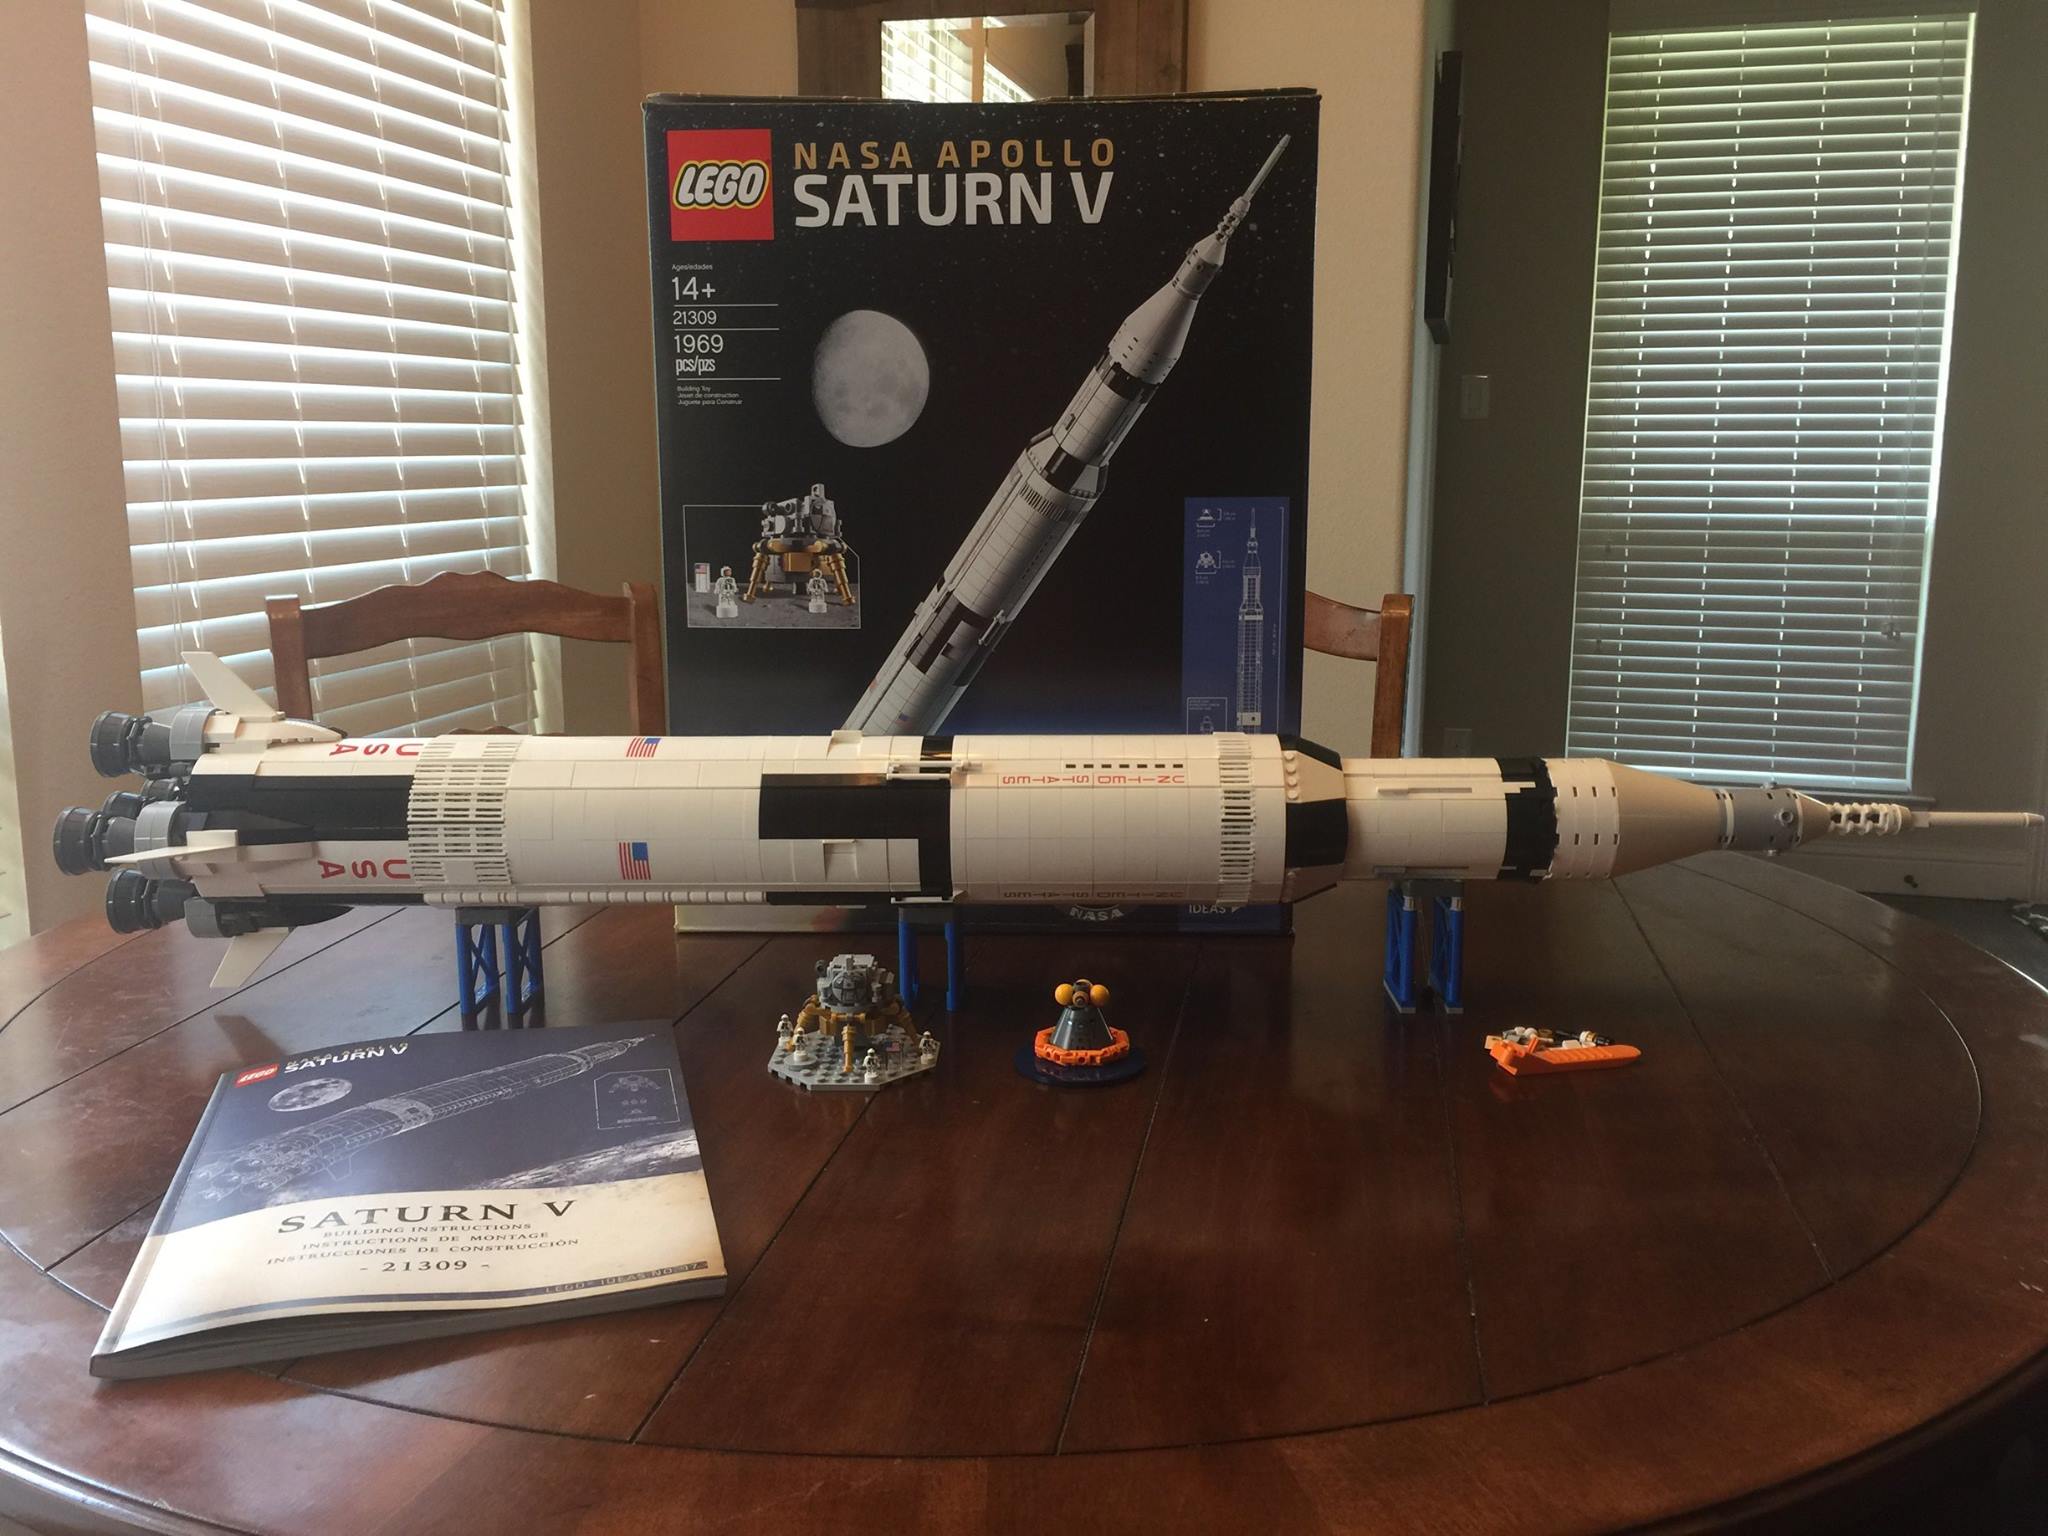
To start off, I wanted to highlight the box. I do not keep boxes, but like most Ideas sets, this one is very nicely done! The graphics include the Apollo logo on the front, as well as a graphic to show off just how tall this set really is! The back of the box shows the stages from liftoff to lunar landing. The box itself is a work of art, and almost worth keeping.
LEGO® includes a short biography of the Ideas set designer, as well as the item itself. This means the instruction book is more than just instructions, but a bit of history as well! This book also goes through the flight to the moon, from the roll out from the Vehicle Assembly Building to touchdown on the lunar surface!
There are no minifigures in this set. Instead LEGO® includes microfigures. I think having three minifigures representing Neil Armstrong, Buzz Aldrin, and Michael Collins, would have been a nice touch. I have the Hayabusa set, and it included a minifigure version of Junichiro Kawaguchi, the project manager for the actual Hayabusa project in Japan. The lack of minifigures does not take away from just how awesome this set is, so it is not really that big of a deal.
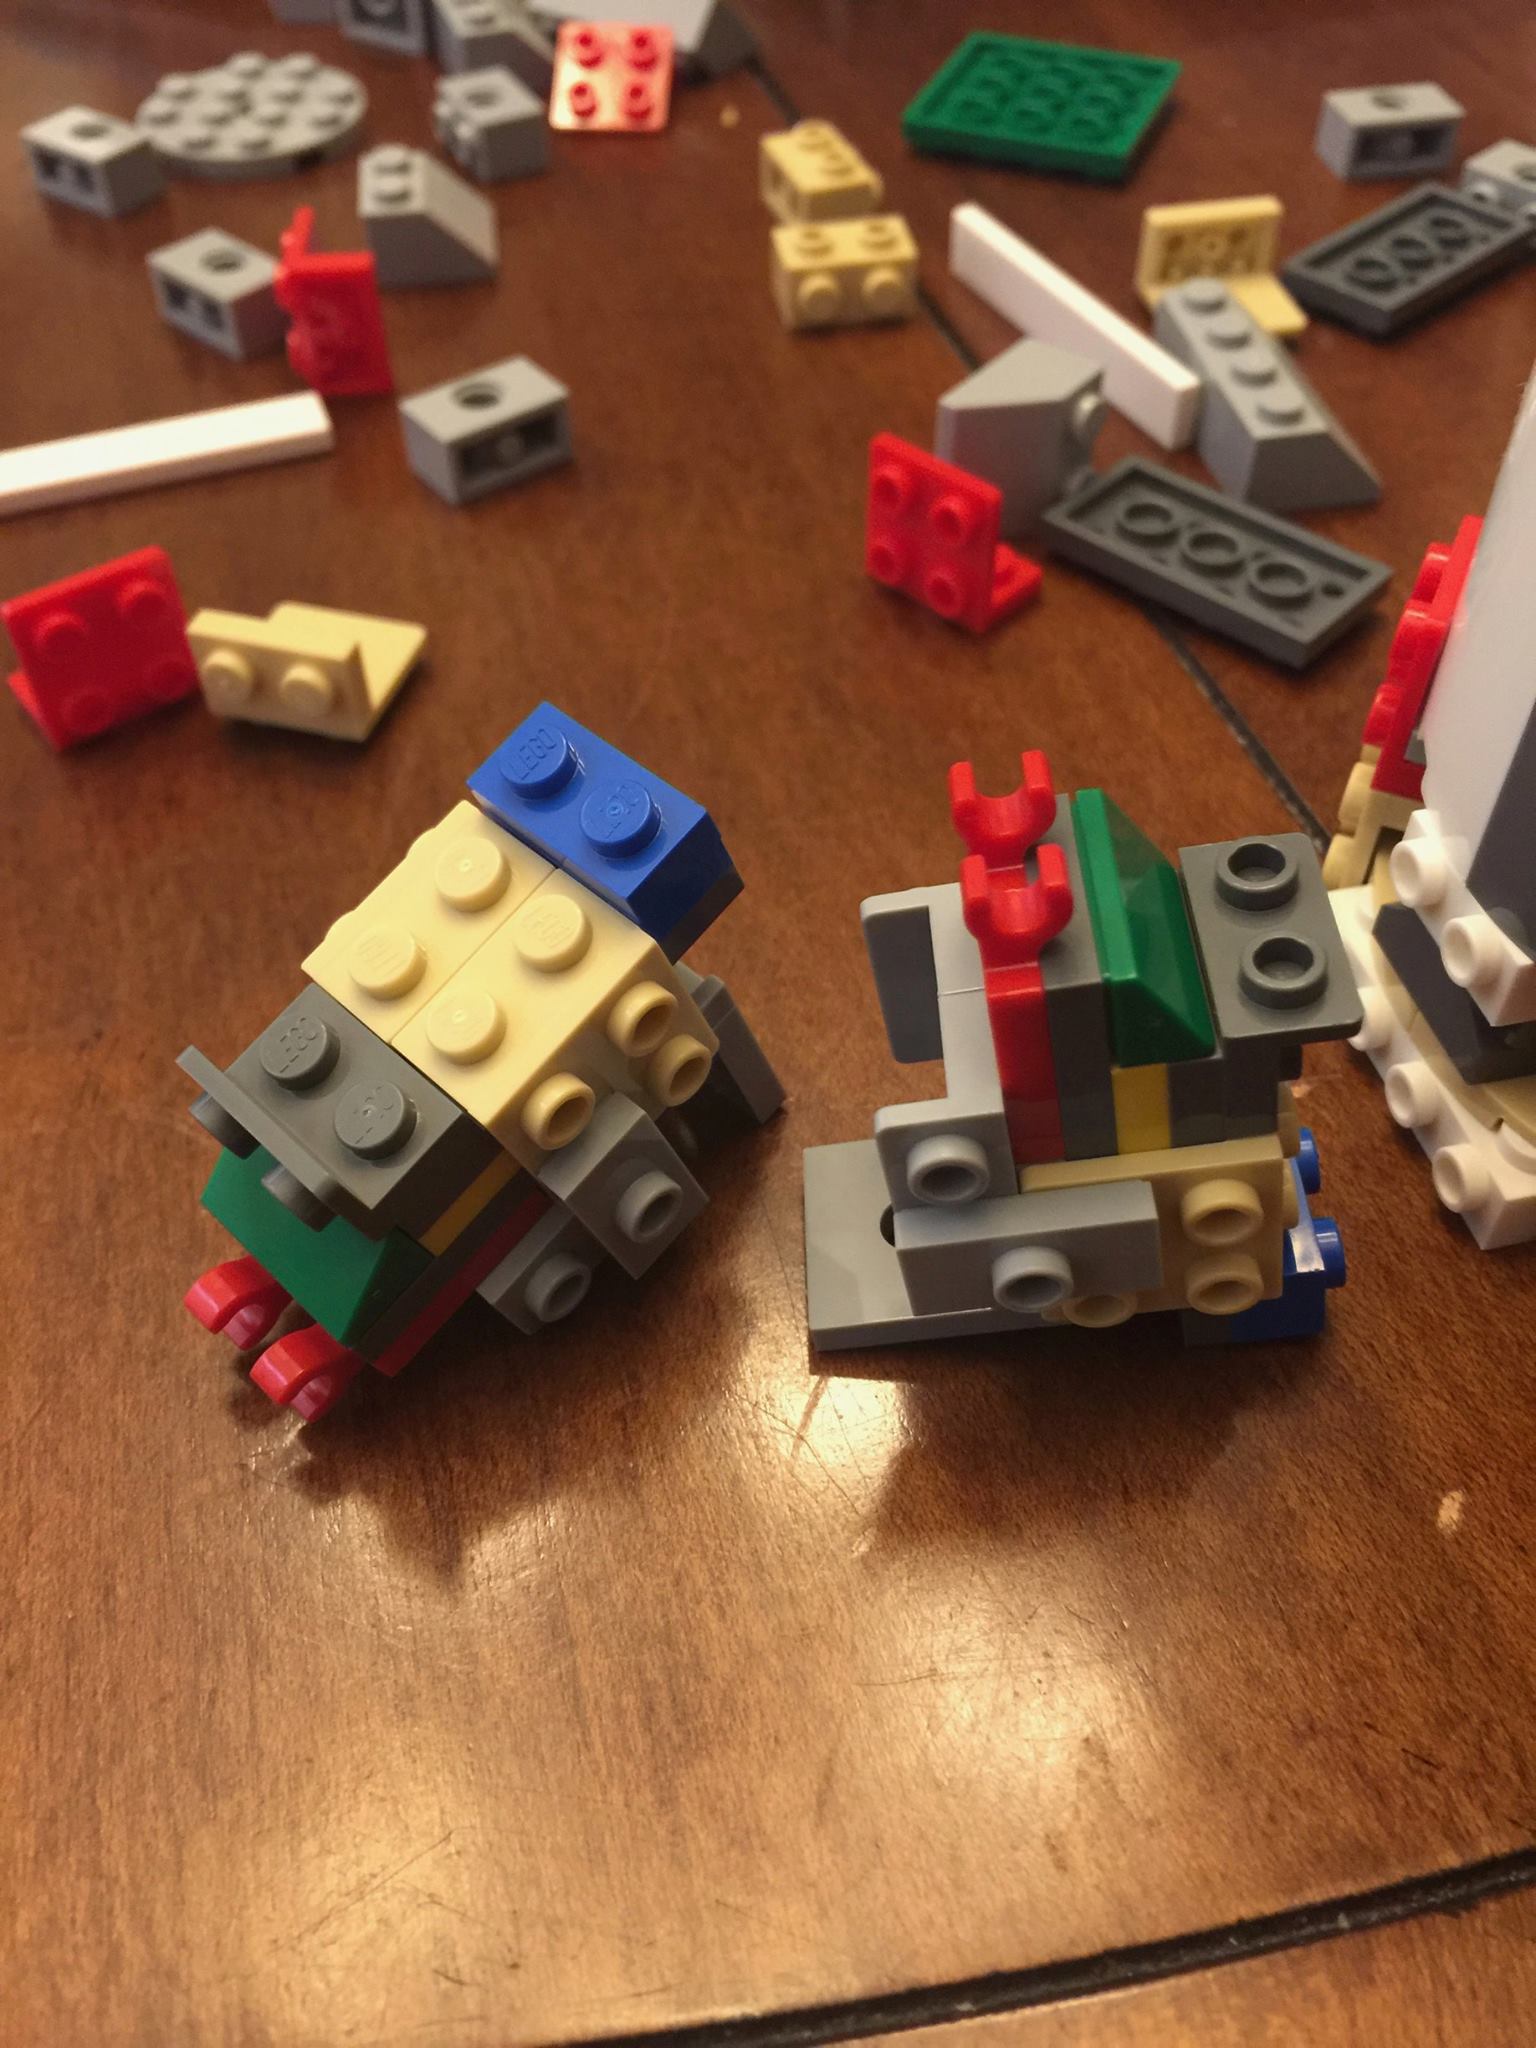
The build is a bit of a challenge. You need to pay close attention to the steps during the build. As you progress through some of the pictures I posted in the Saturn V album, you’ll see why! The design of the Saturn V demands some interesting use of bricks. There are some fun building techniques that made building the Saturn V very enjoyable.
Once complete, the Saturn V stands tall at 363 ft and weighs 6.2 million lbs. The LEGO® version comes in over 39″ (100 cm to be exact) and weighs quite a bit less! LEGO® includes three stands so you can display the Saturn V on its side, much like you would see if you visit rocket park at the Johnson Space Center. You could display it vertically, as it is sturdy on the five F-1 engines, but you would need to make sure the platform is stable, and not easily bumped.
The Saturn V does appears fragile, but there is an internal structure that provides a very stable platform for the external parts to attach and give a very accurate look to the Saturn V.
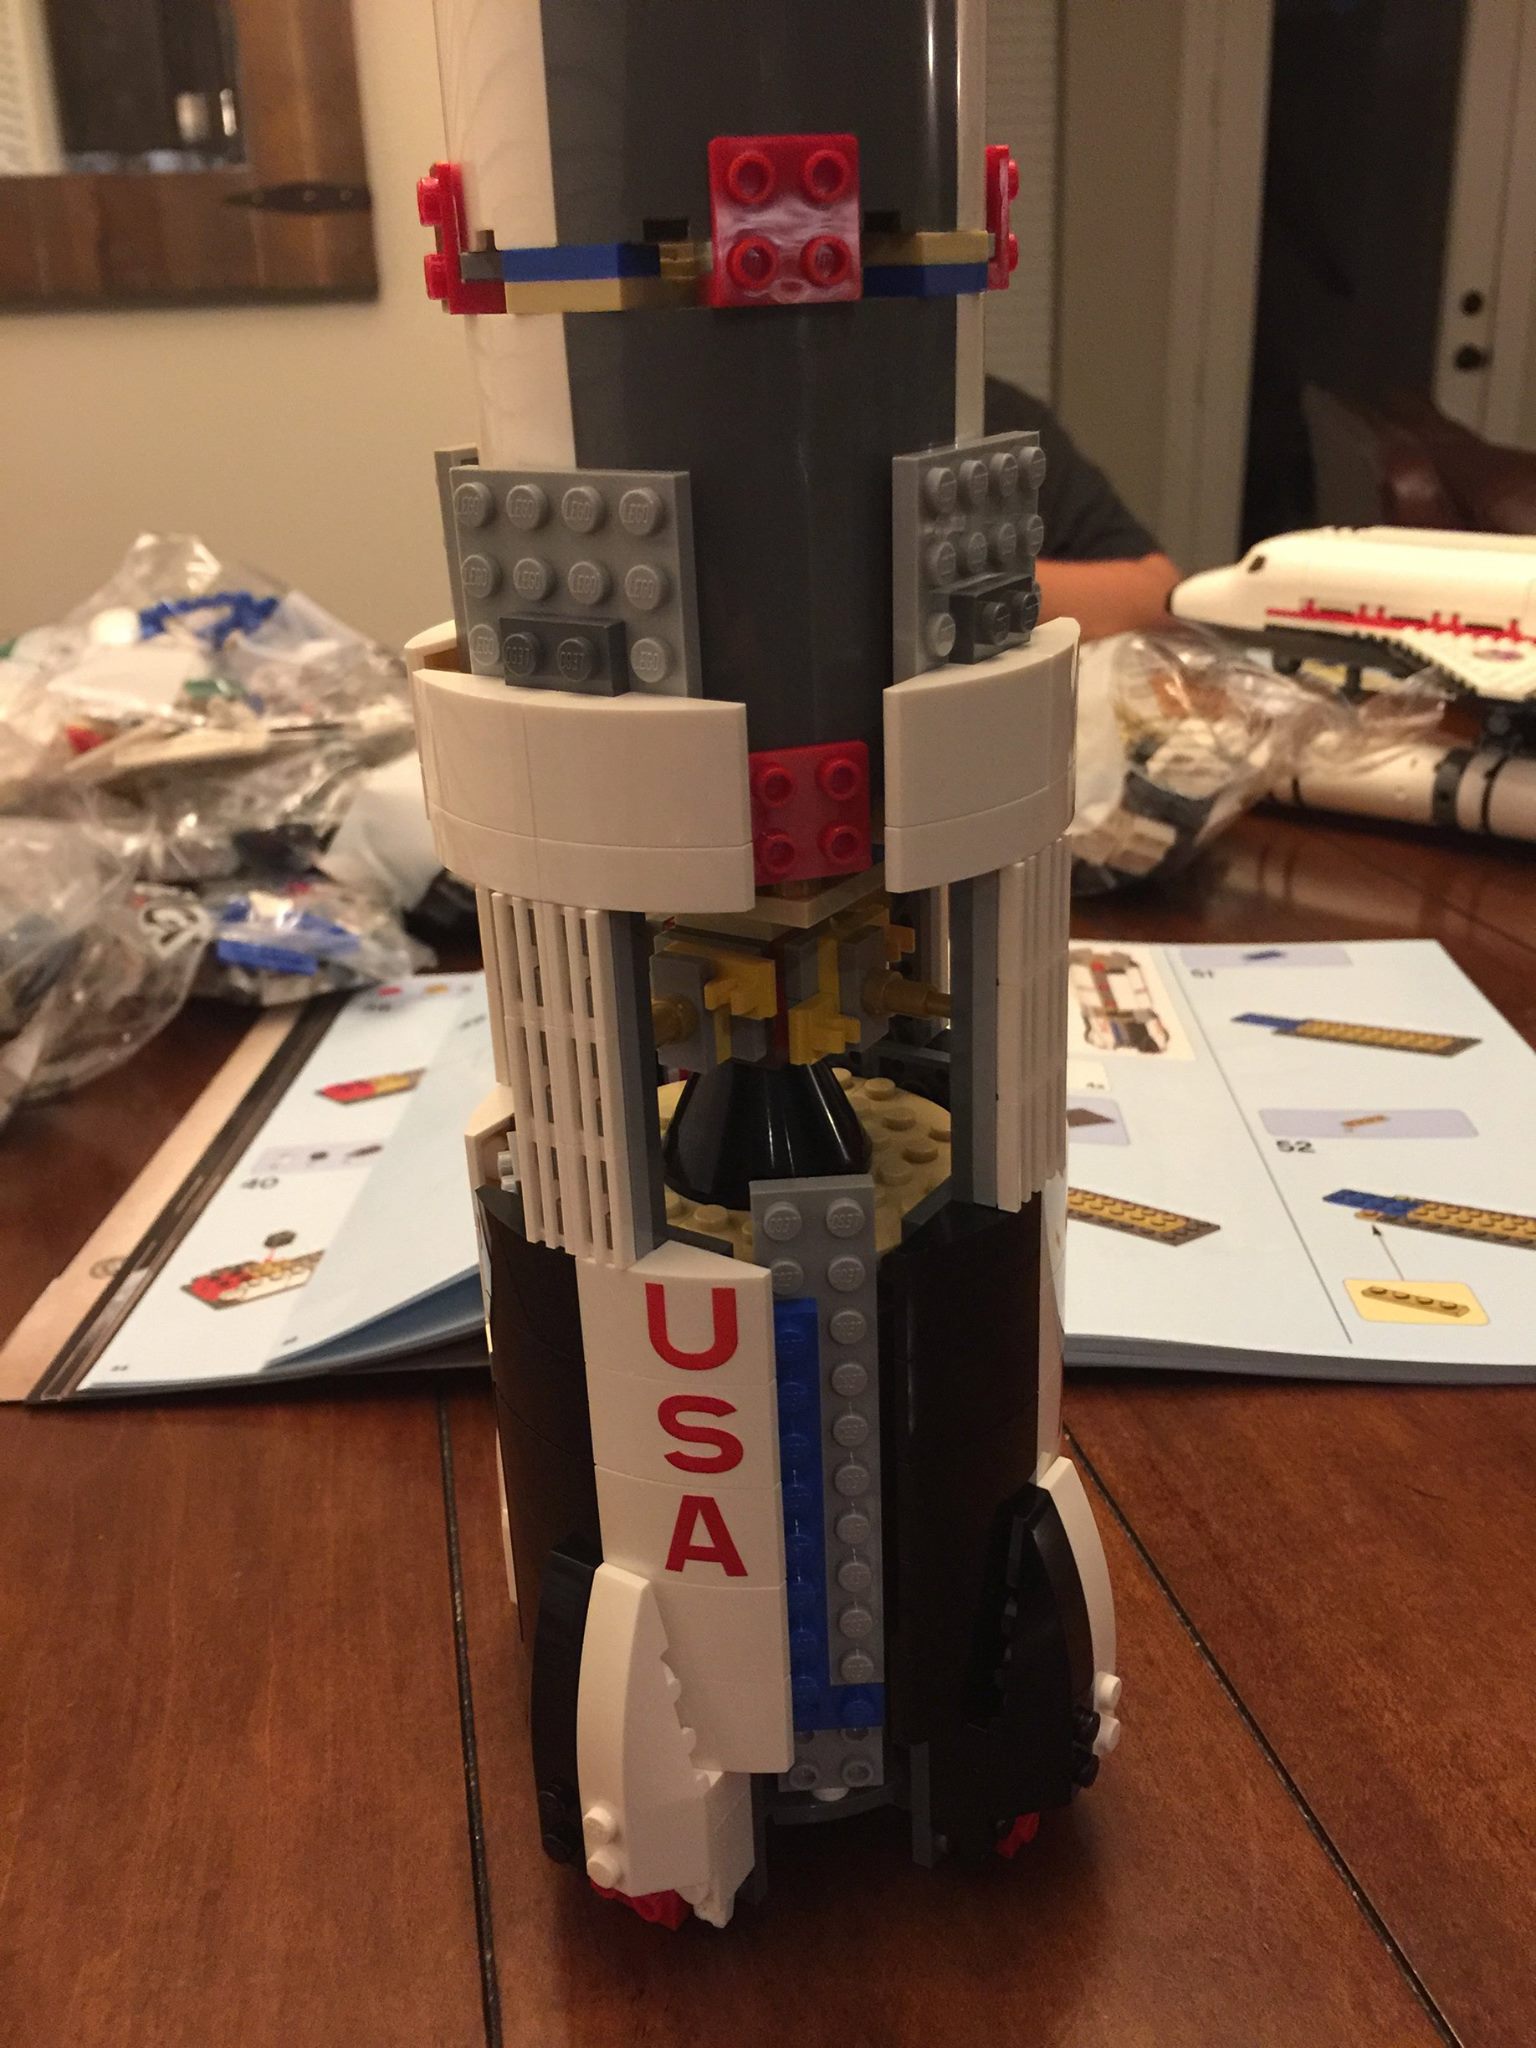
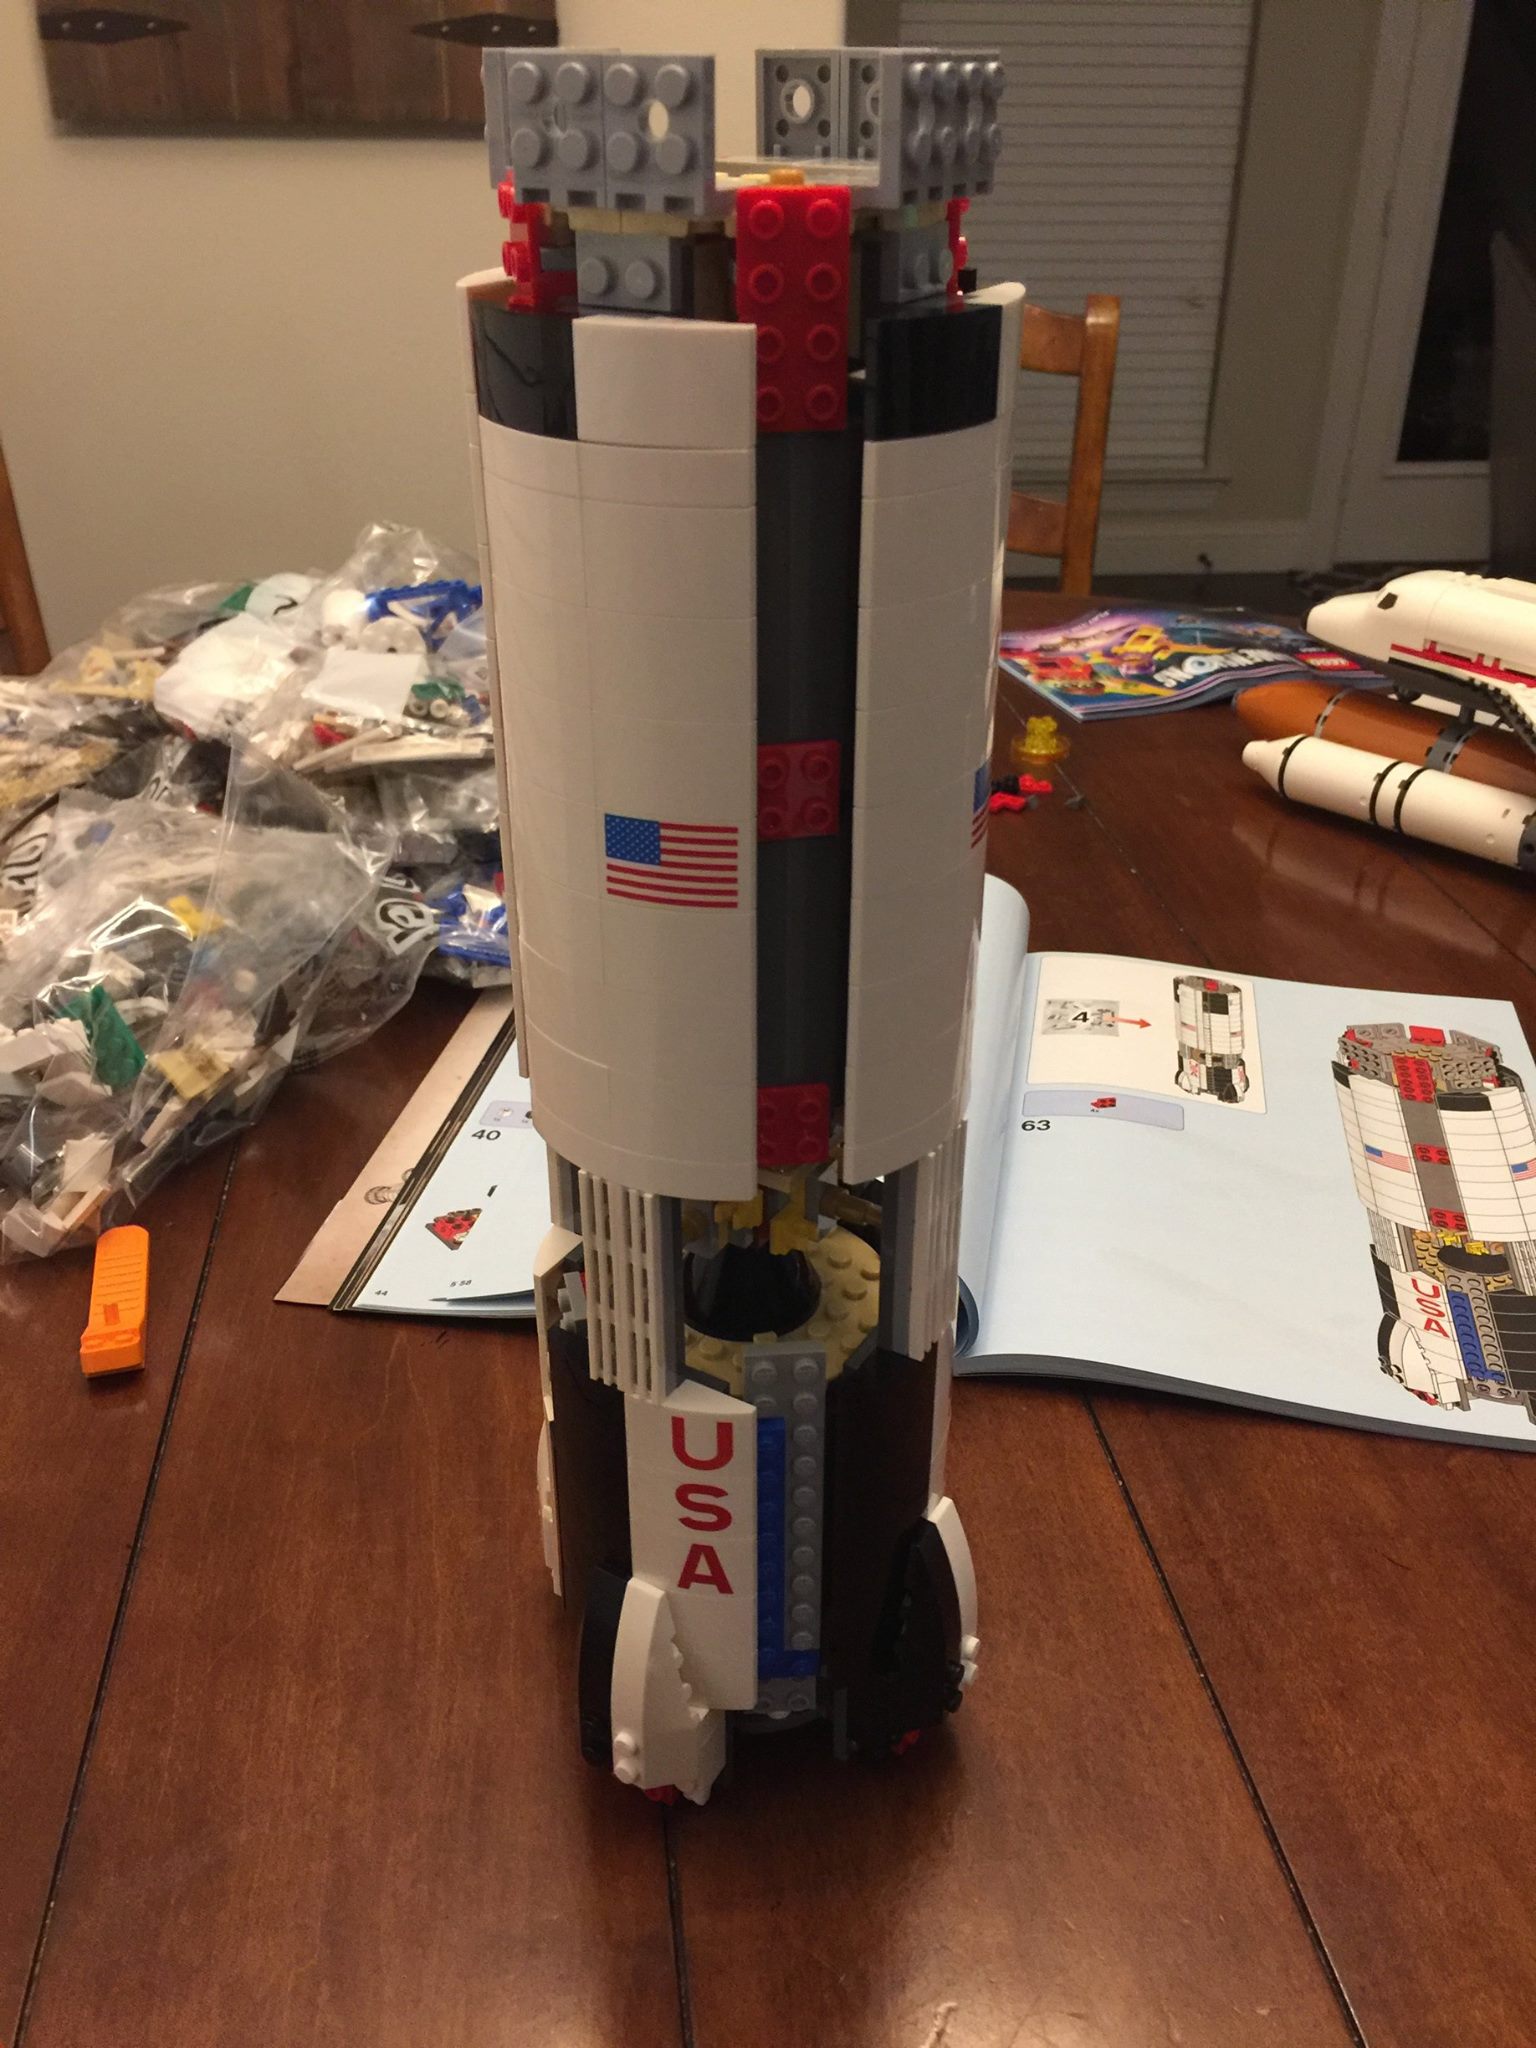
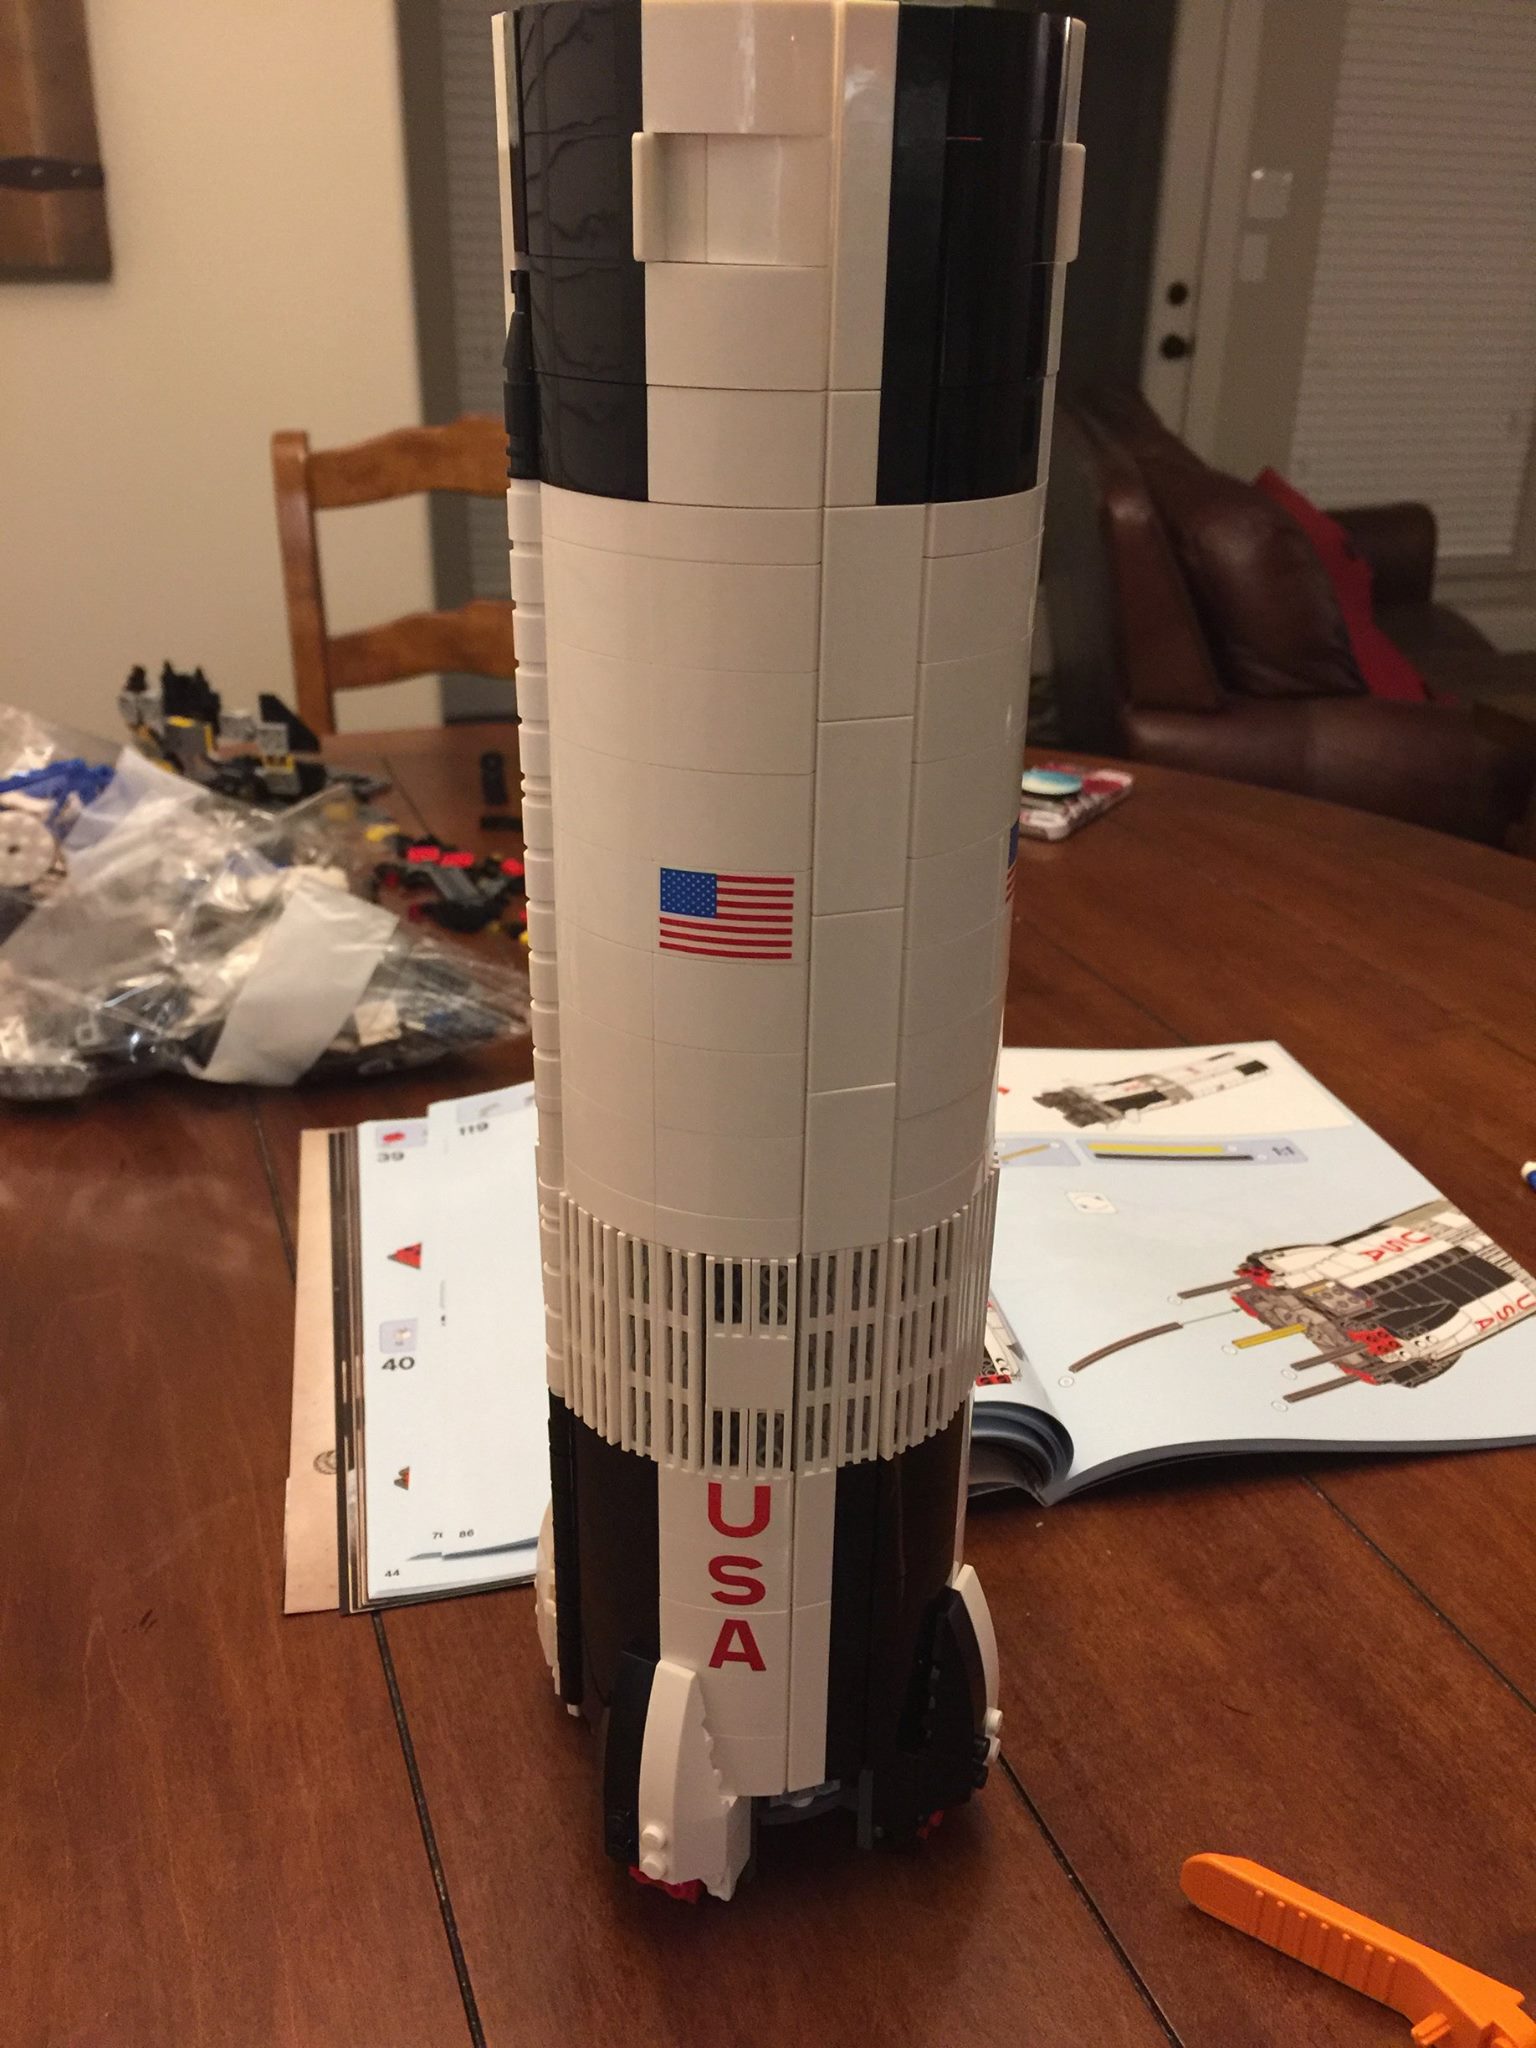
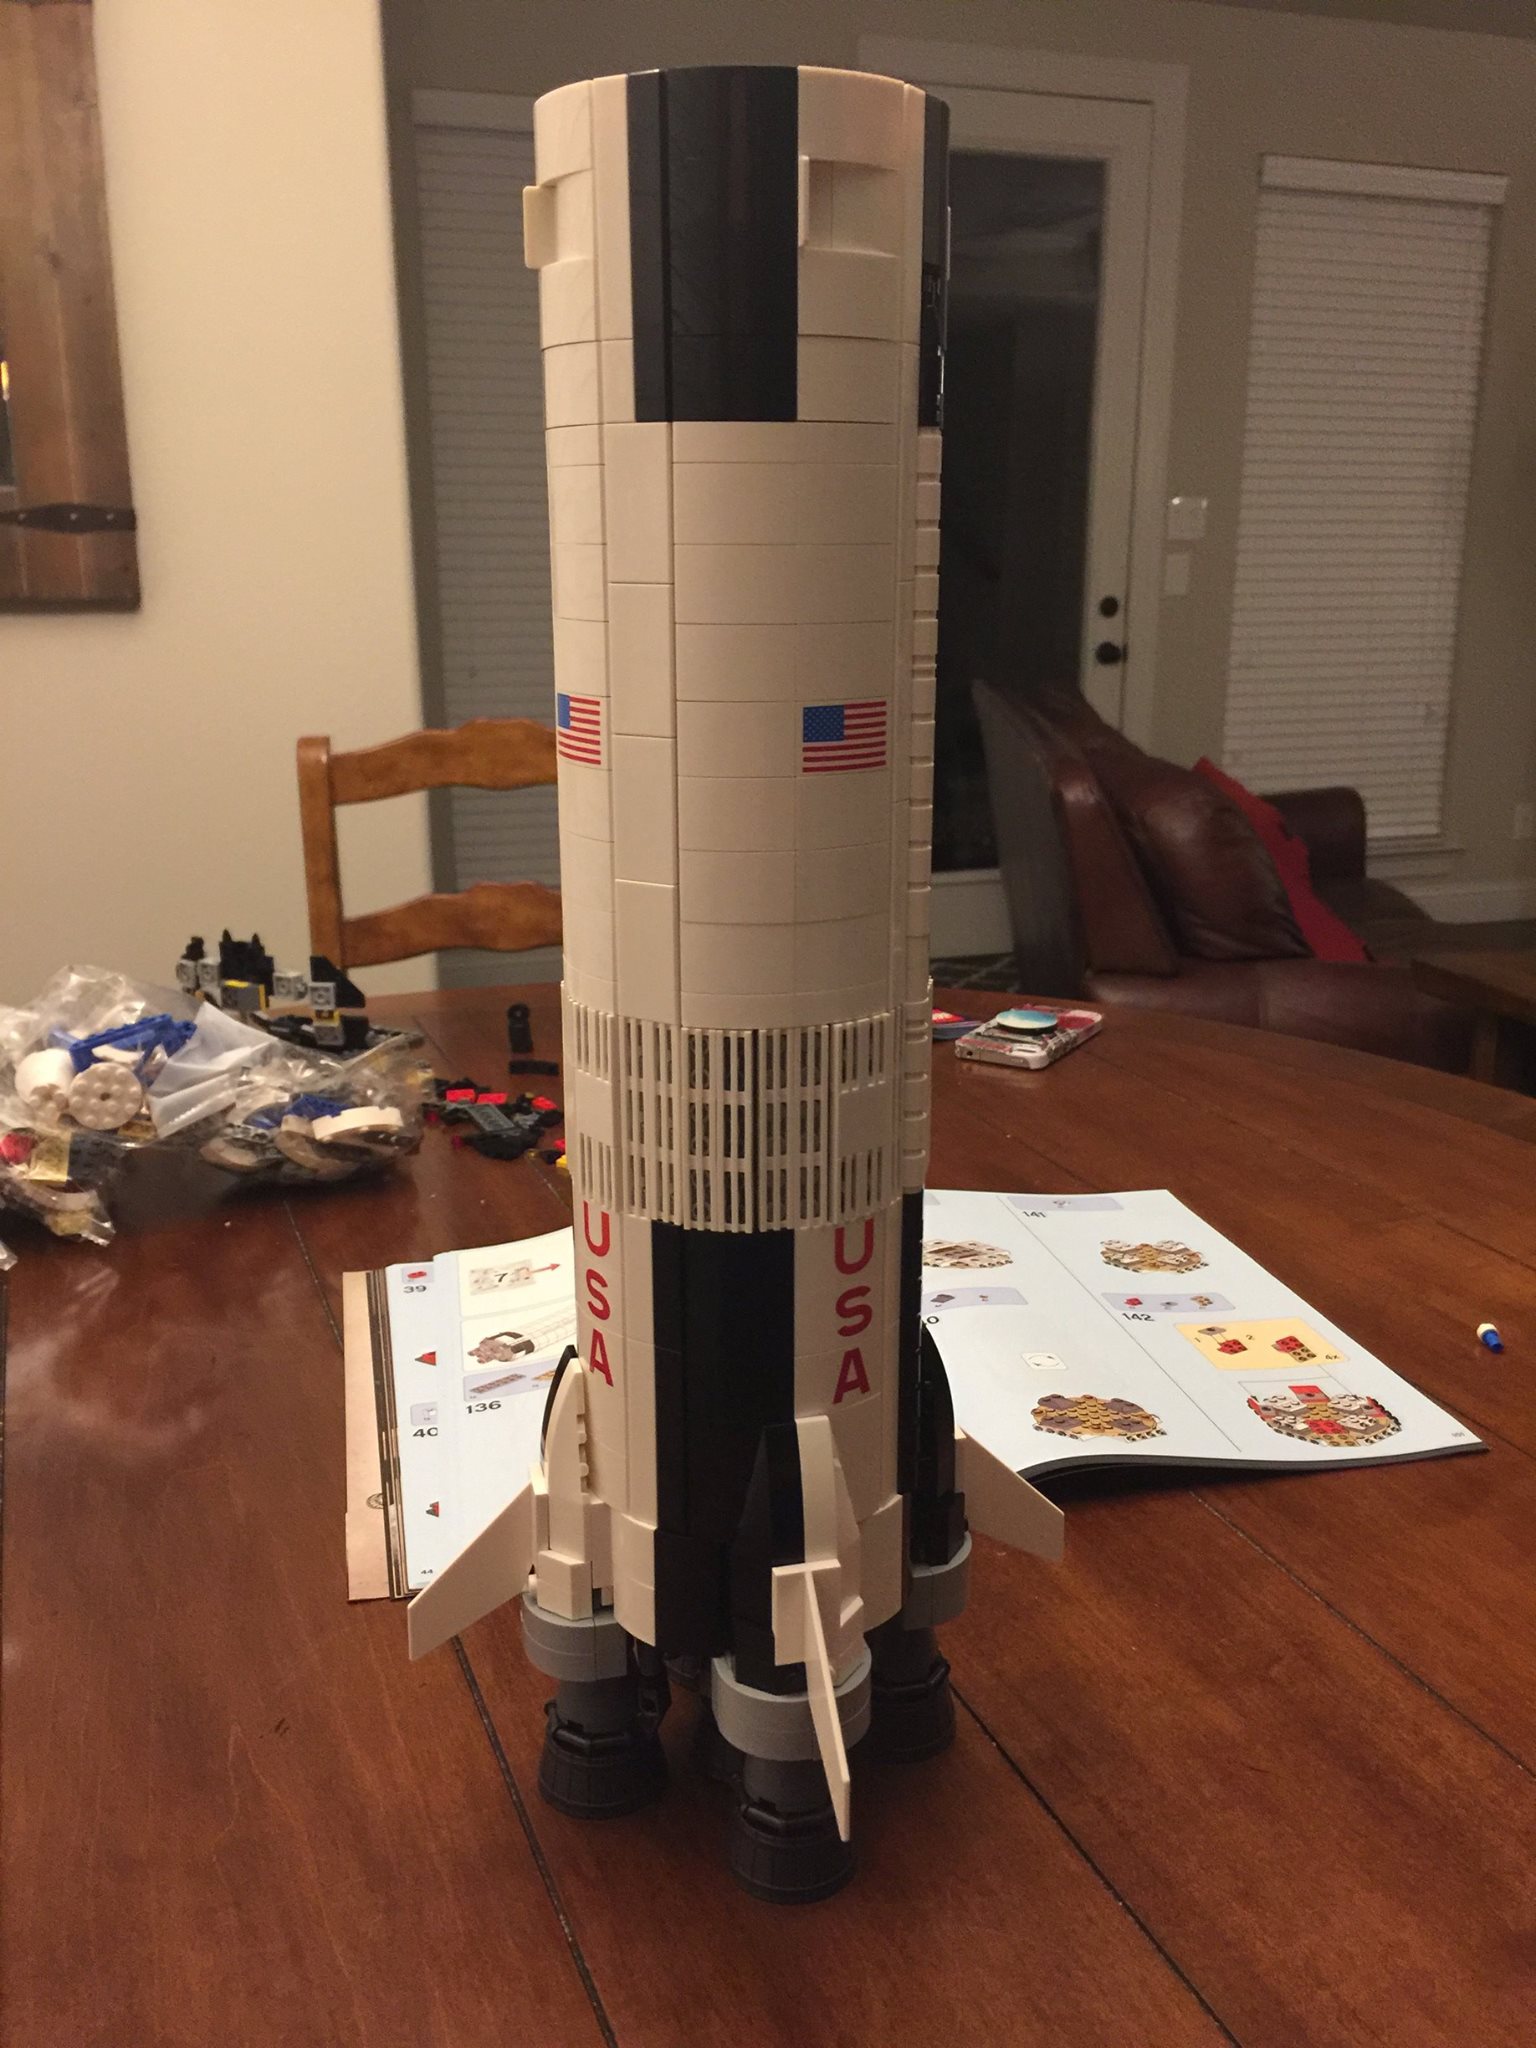
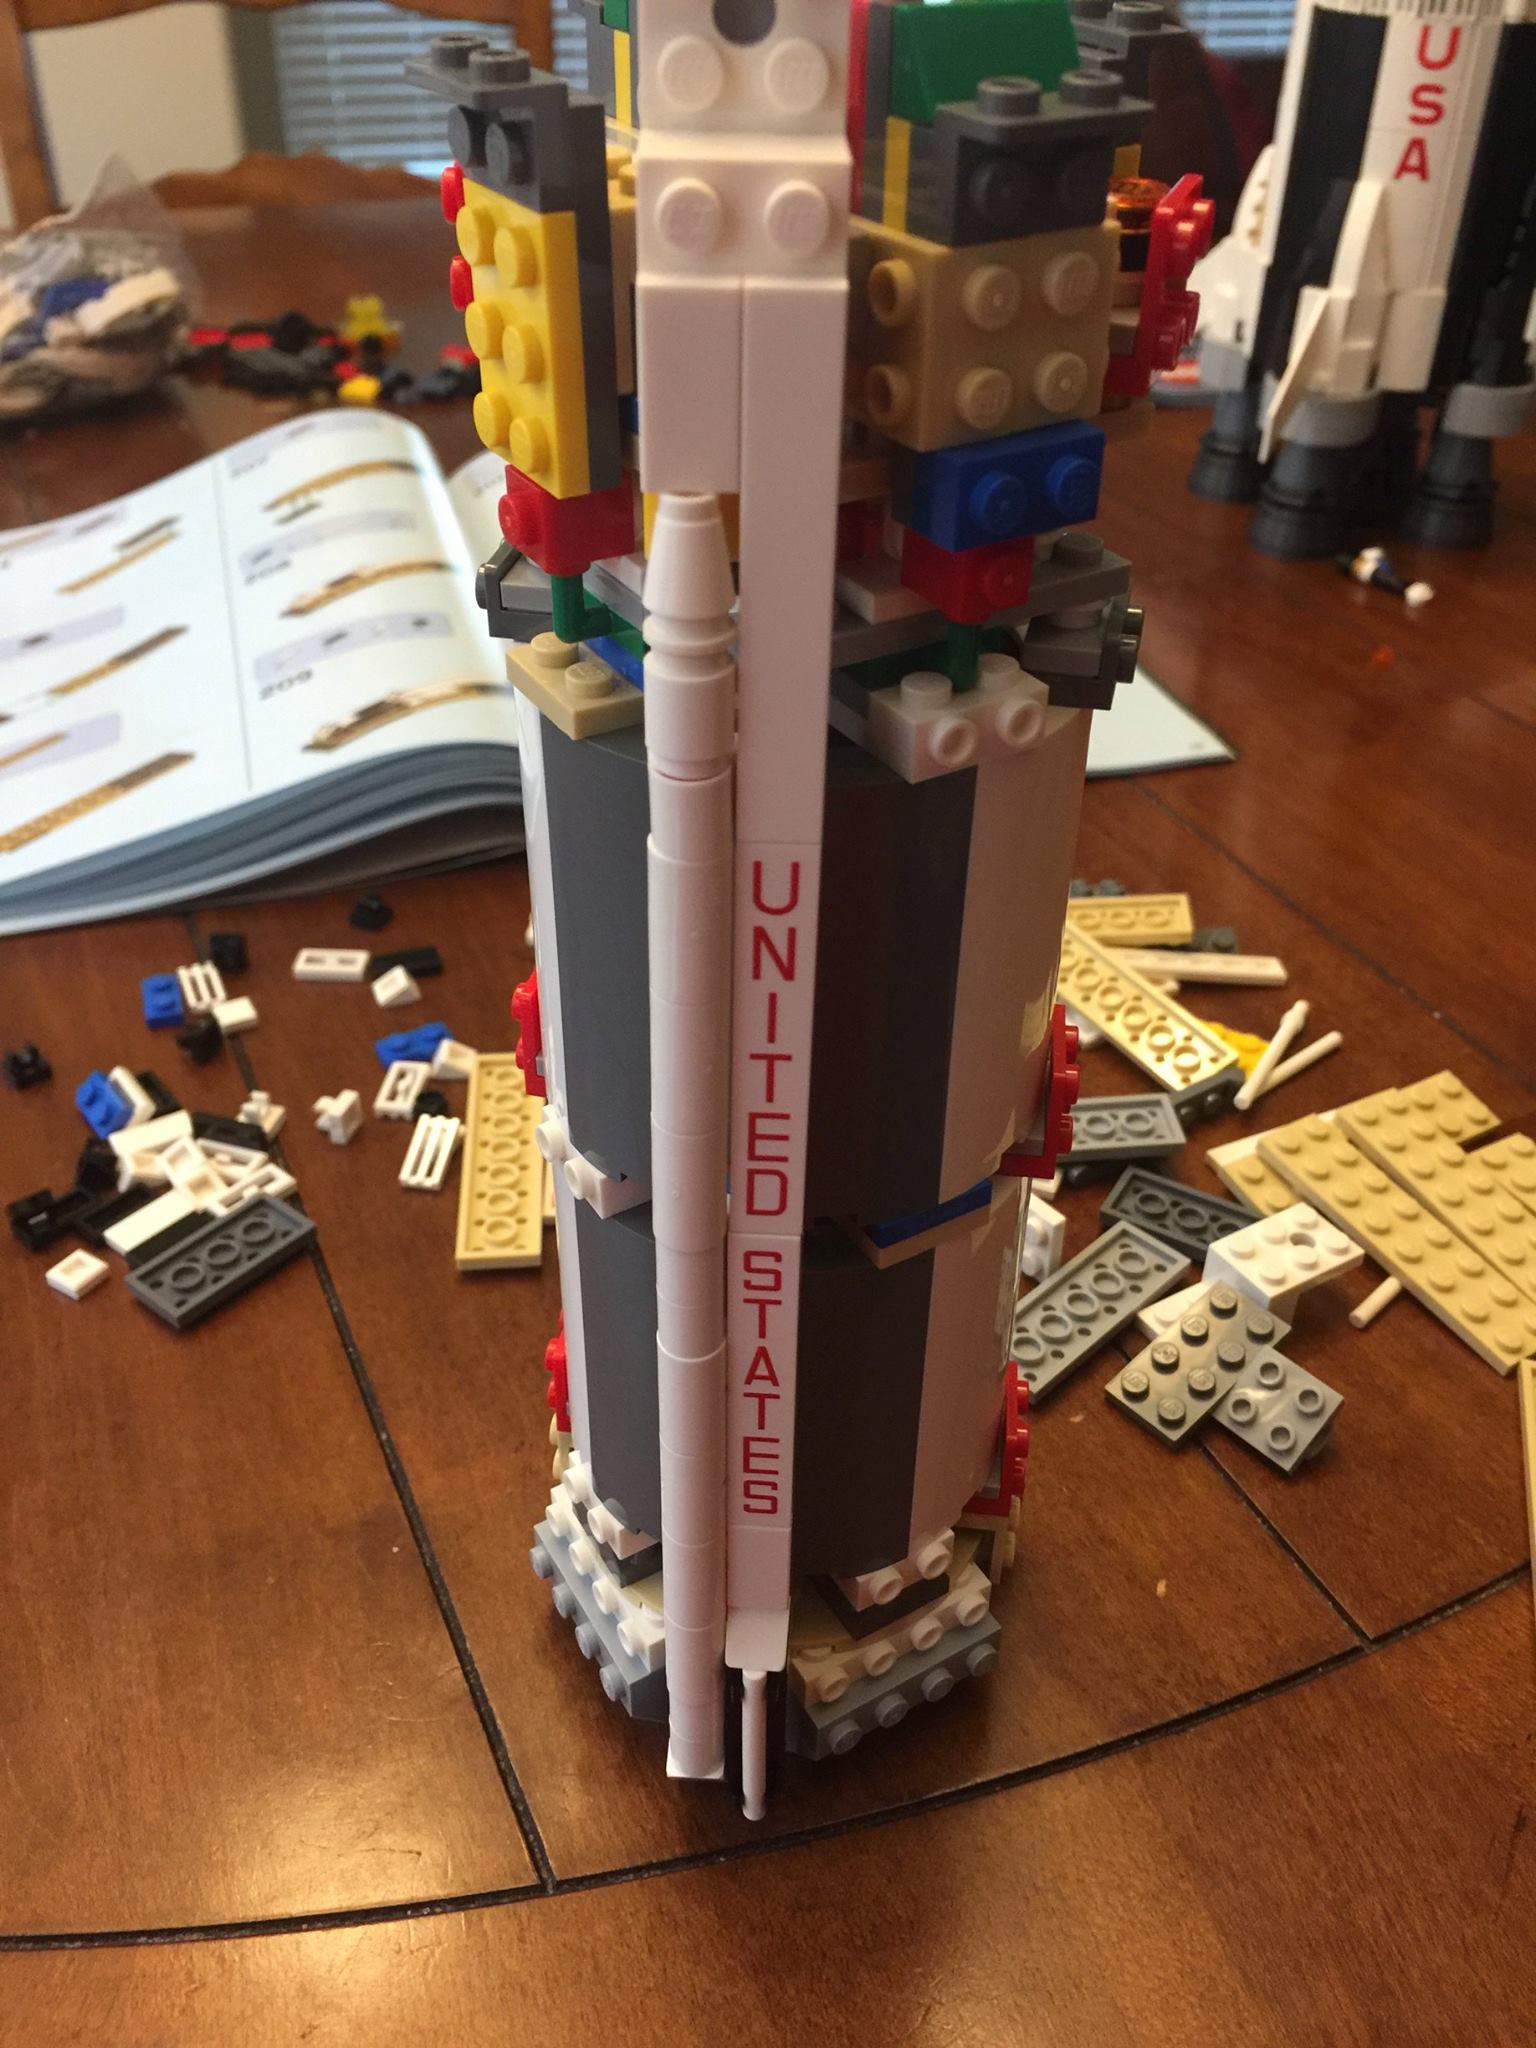
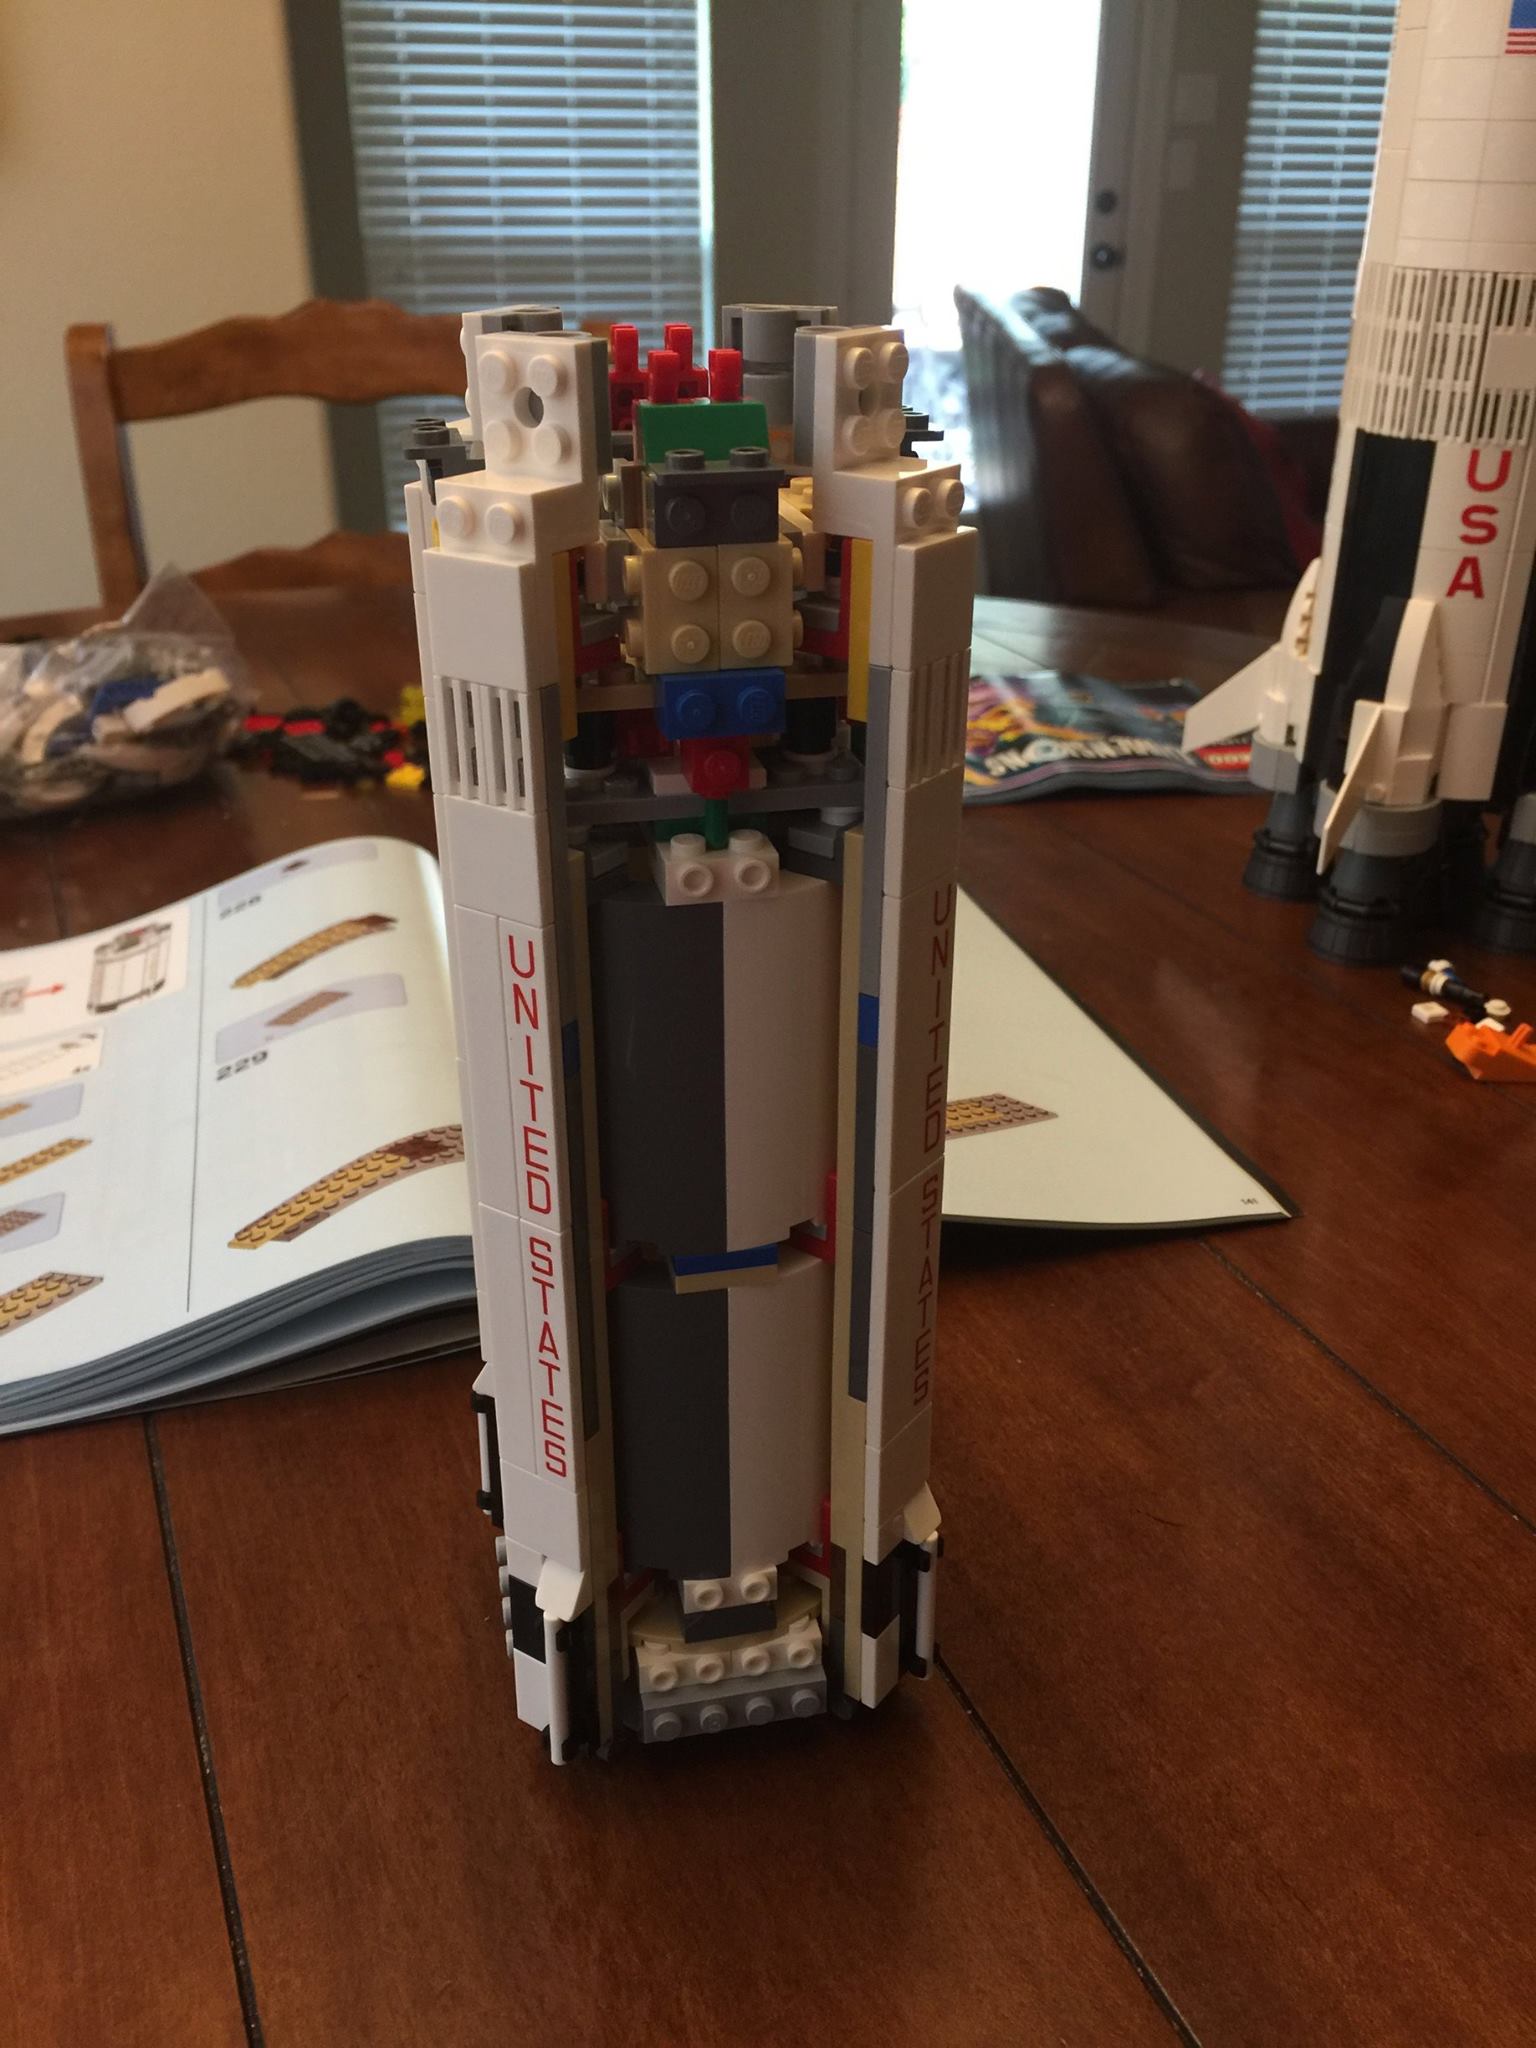
Starting at the first stage, we discover just how detailed this set is! We have the five F-1 engines that push the Saturn V off the launch platform and into the heavens. The details on the engines are impressive, with an interesting use of megaphones, pantographs, and even half barrels to complete the engines. There are transparent oranges pieces to simulate the glow of the engines. Four fins are attached to the base to stabilize flight, and I love that there are printed pieces to spell out USA. No use of stickers in this set! There is a combination of cylinder parts and sloped pieces to give the rocket its cylindrical shape. There is a section that uses grill tiles that attach using clips internally to help break up the smooth texture of the cylinder, and to add to the realistic look of the rocket. The grill section is not a perfect circle, but it works out well. Just make sure you pay attention to the build, as once these are in, they are difficult to get out without tearing apart previous built sections! The designers even included the cable tunnel that runs up the side of the rocket! As we continue up the first stage, we also get a look at more printed pieces decorating the rocket, this time the US Flag. Inside the top of the first stage, there are 8 clips to connect and hold the 2nd stage into place, as well as enough room to house and protect the five J-2 engines.
The second stage continues the high level of detail. The five J-2 engines have more transparent orange pieces that are inside of silver wheel pieces. Again, this gives off that look of glowing engines. The construction of the rocket uses the same sloped tiles, as well as some flat tiles with United States printed on them. There are also some additional printed tiles to add to the realistic look of the rocket. There is also more of the 1×2 grill tiles attached near the top of the 2nd stage. The cable tunnel continues up the side of the 2nd stage. Just above the ring of grill tiles, the rocket begins to slope inward. There is a combination of sloped tiles and hinges used to achieve the look while still trying to keep an overall cylinder. Inside the sloped section we have 4 clips and room for the single J-2 engine on the 3rd stage.
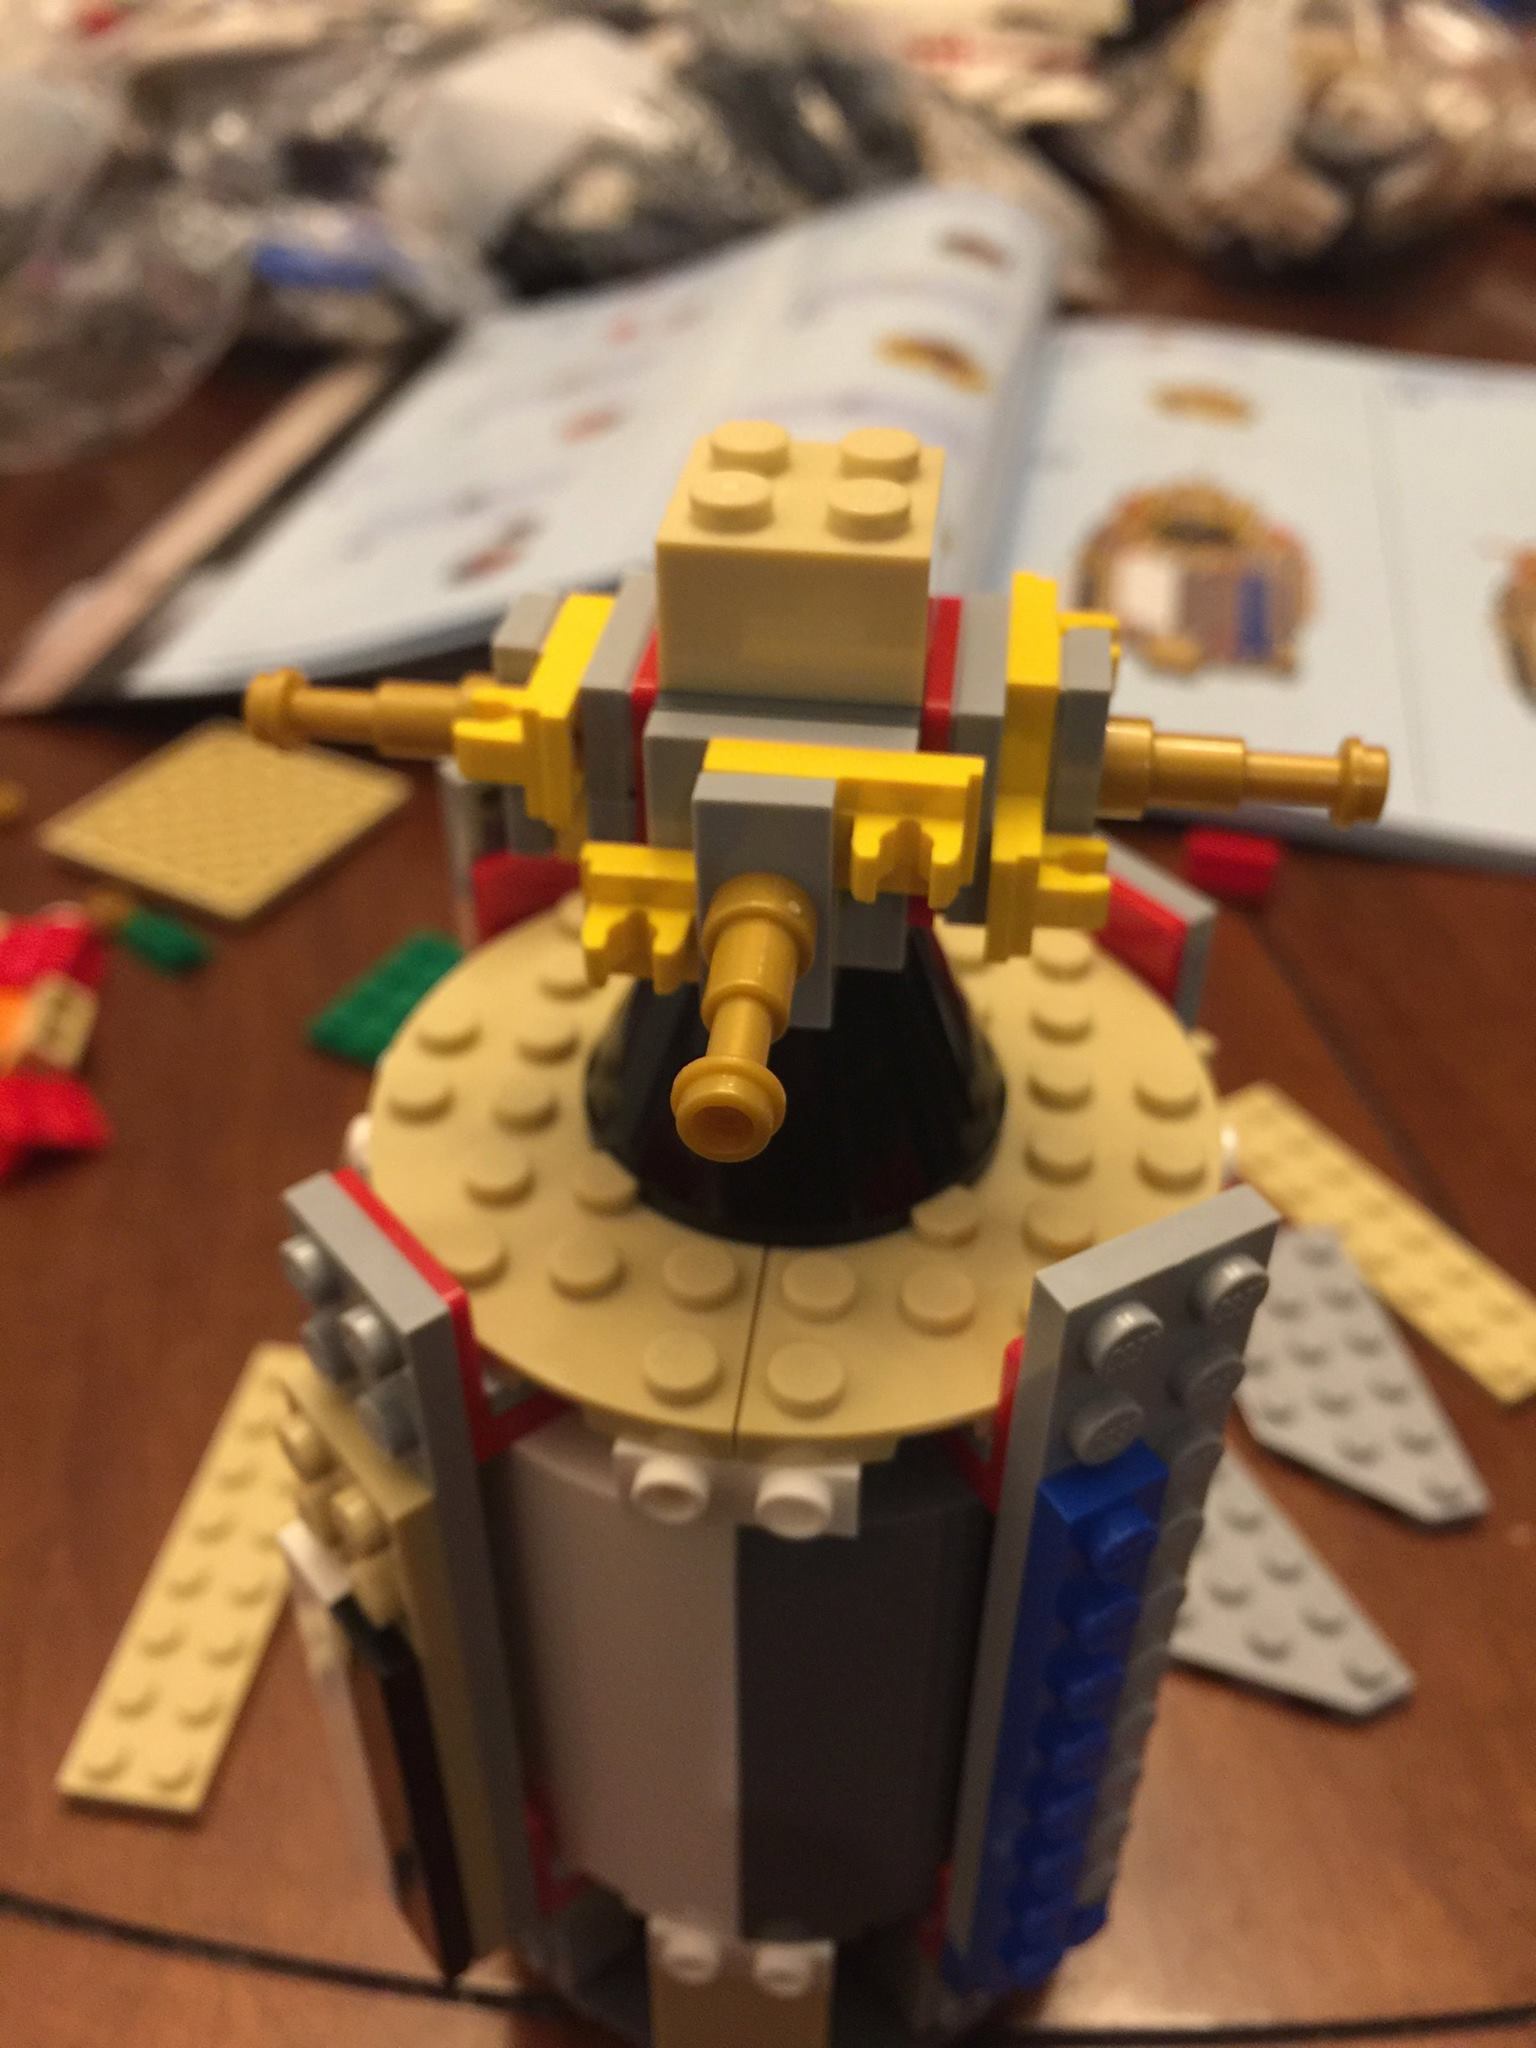
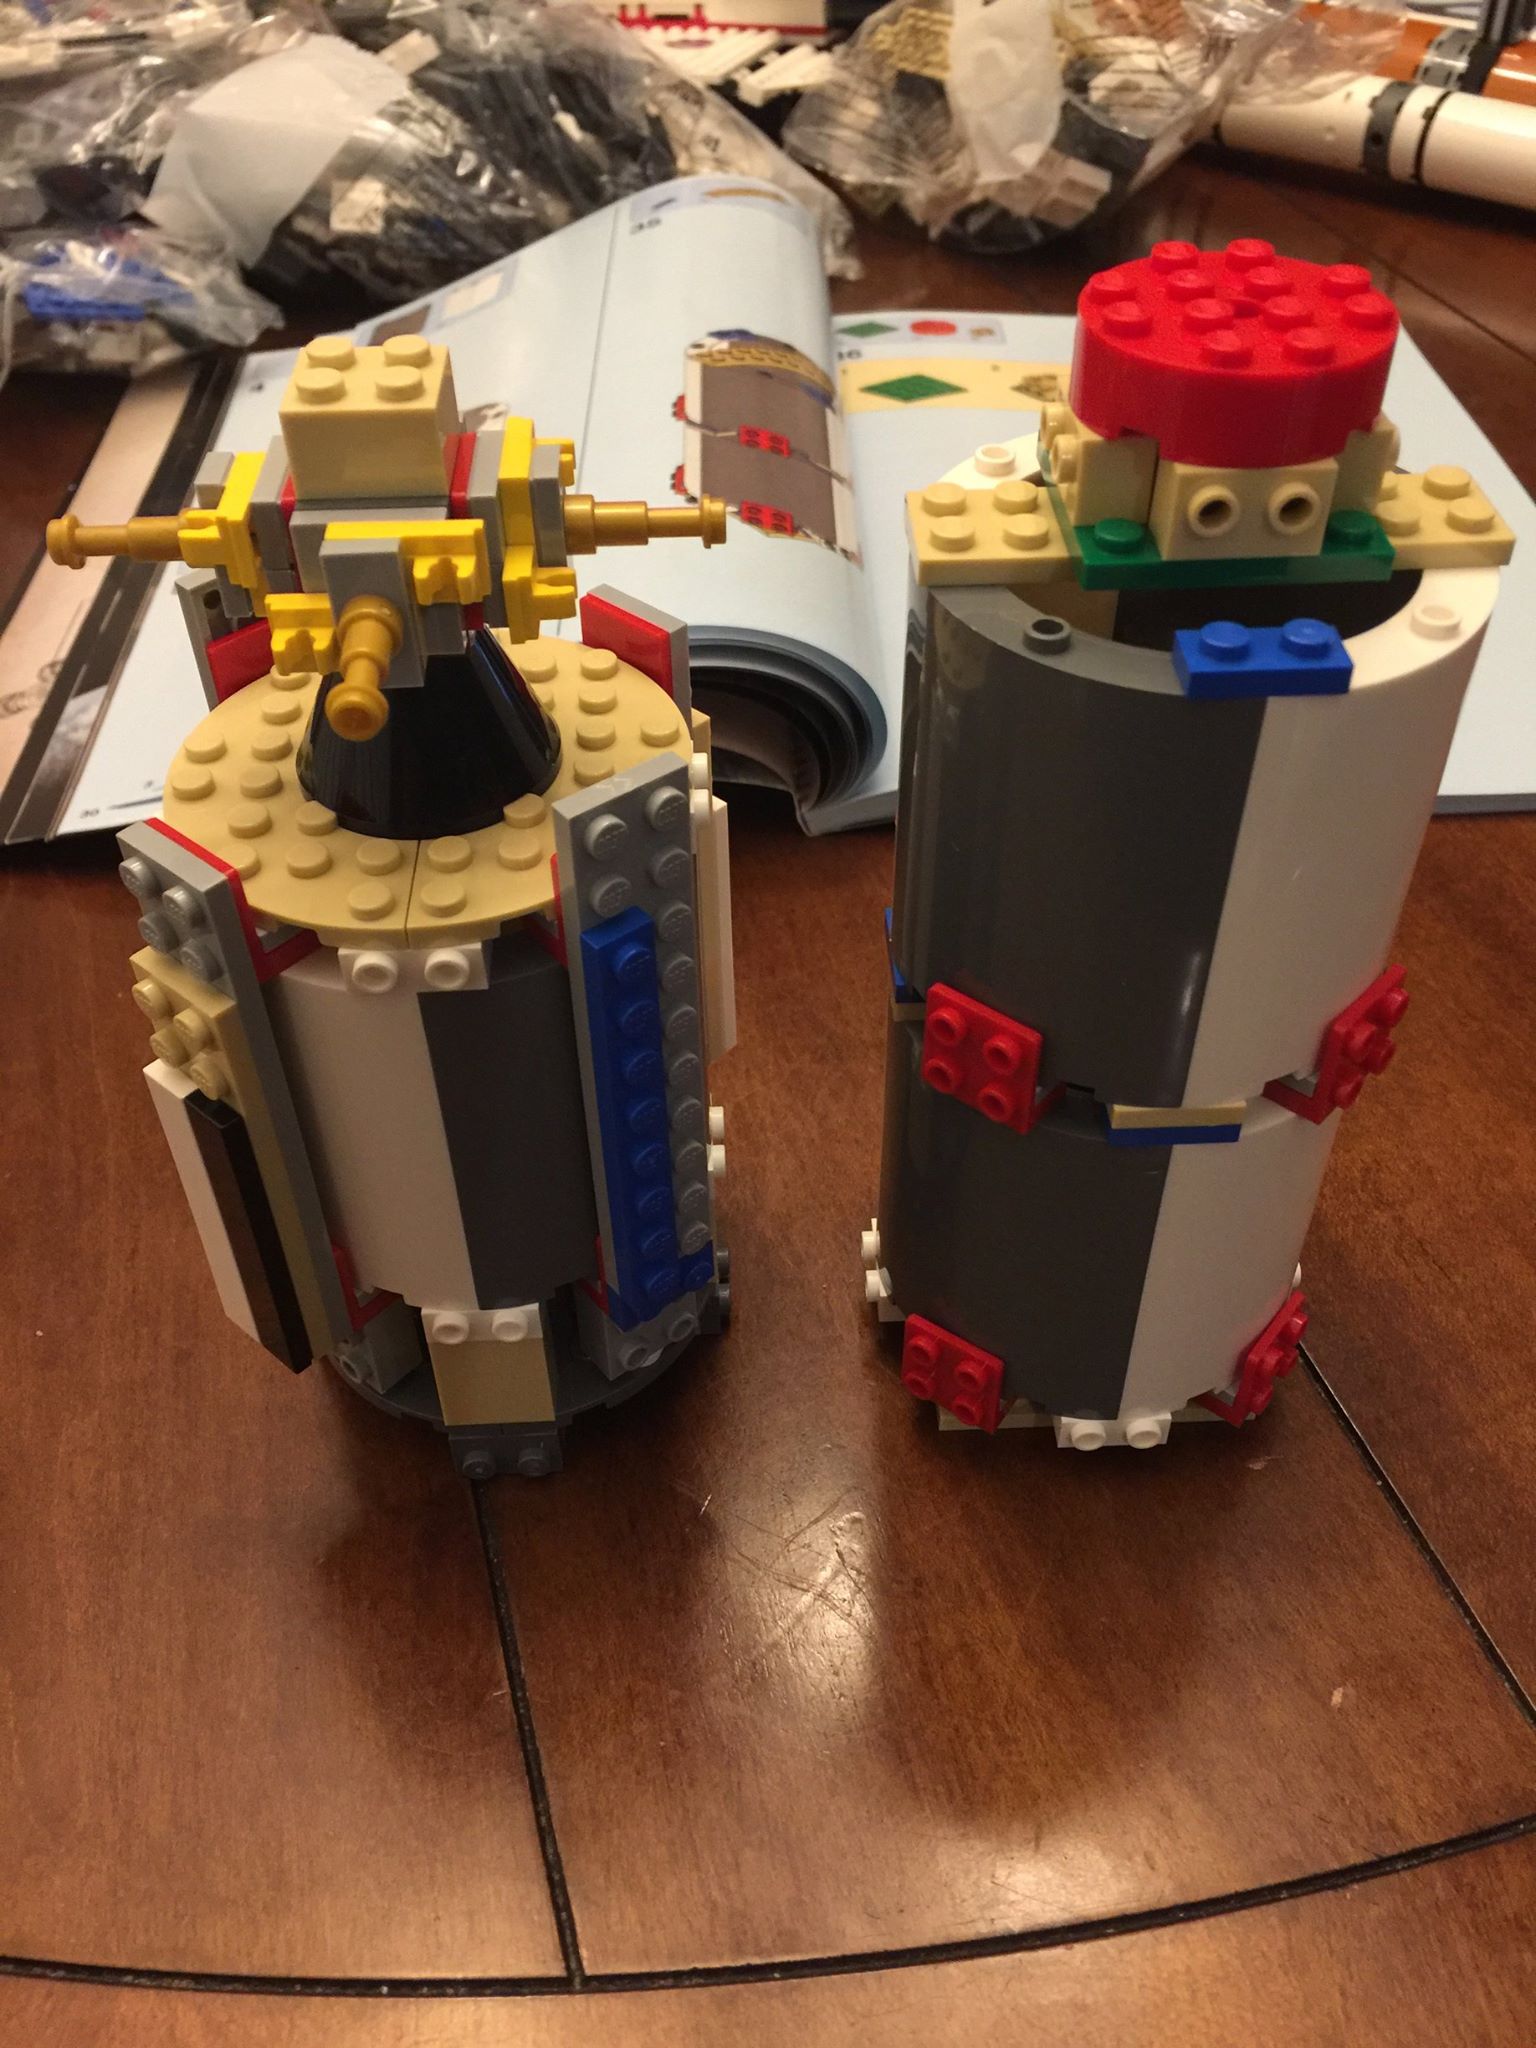
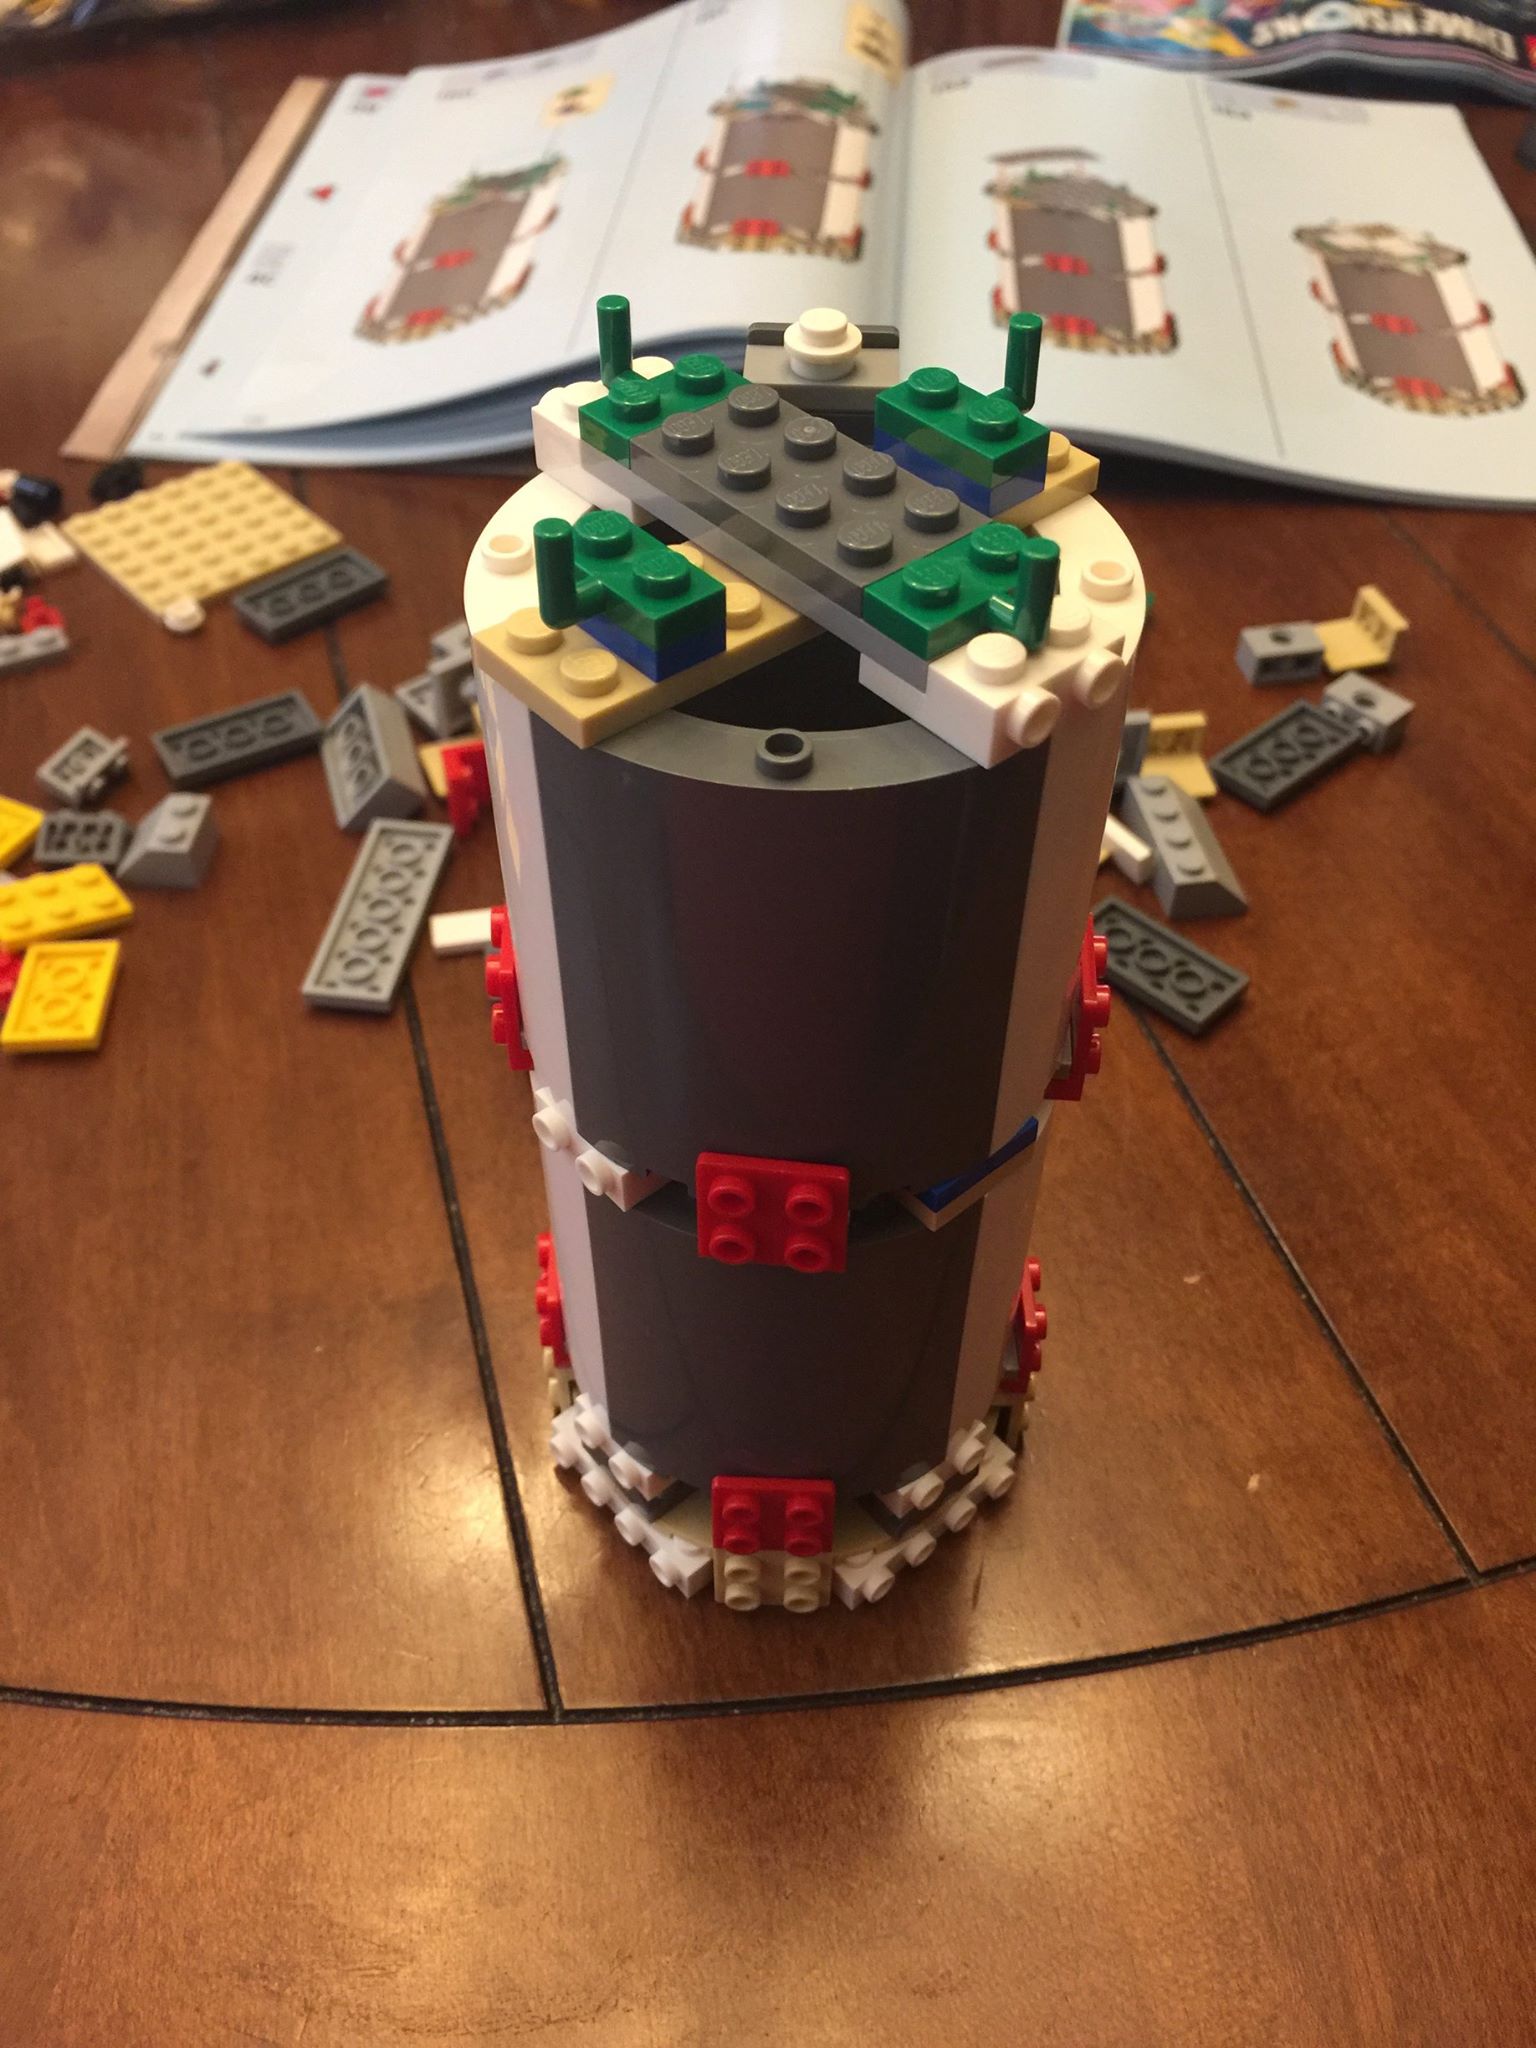
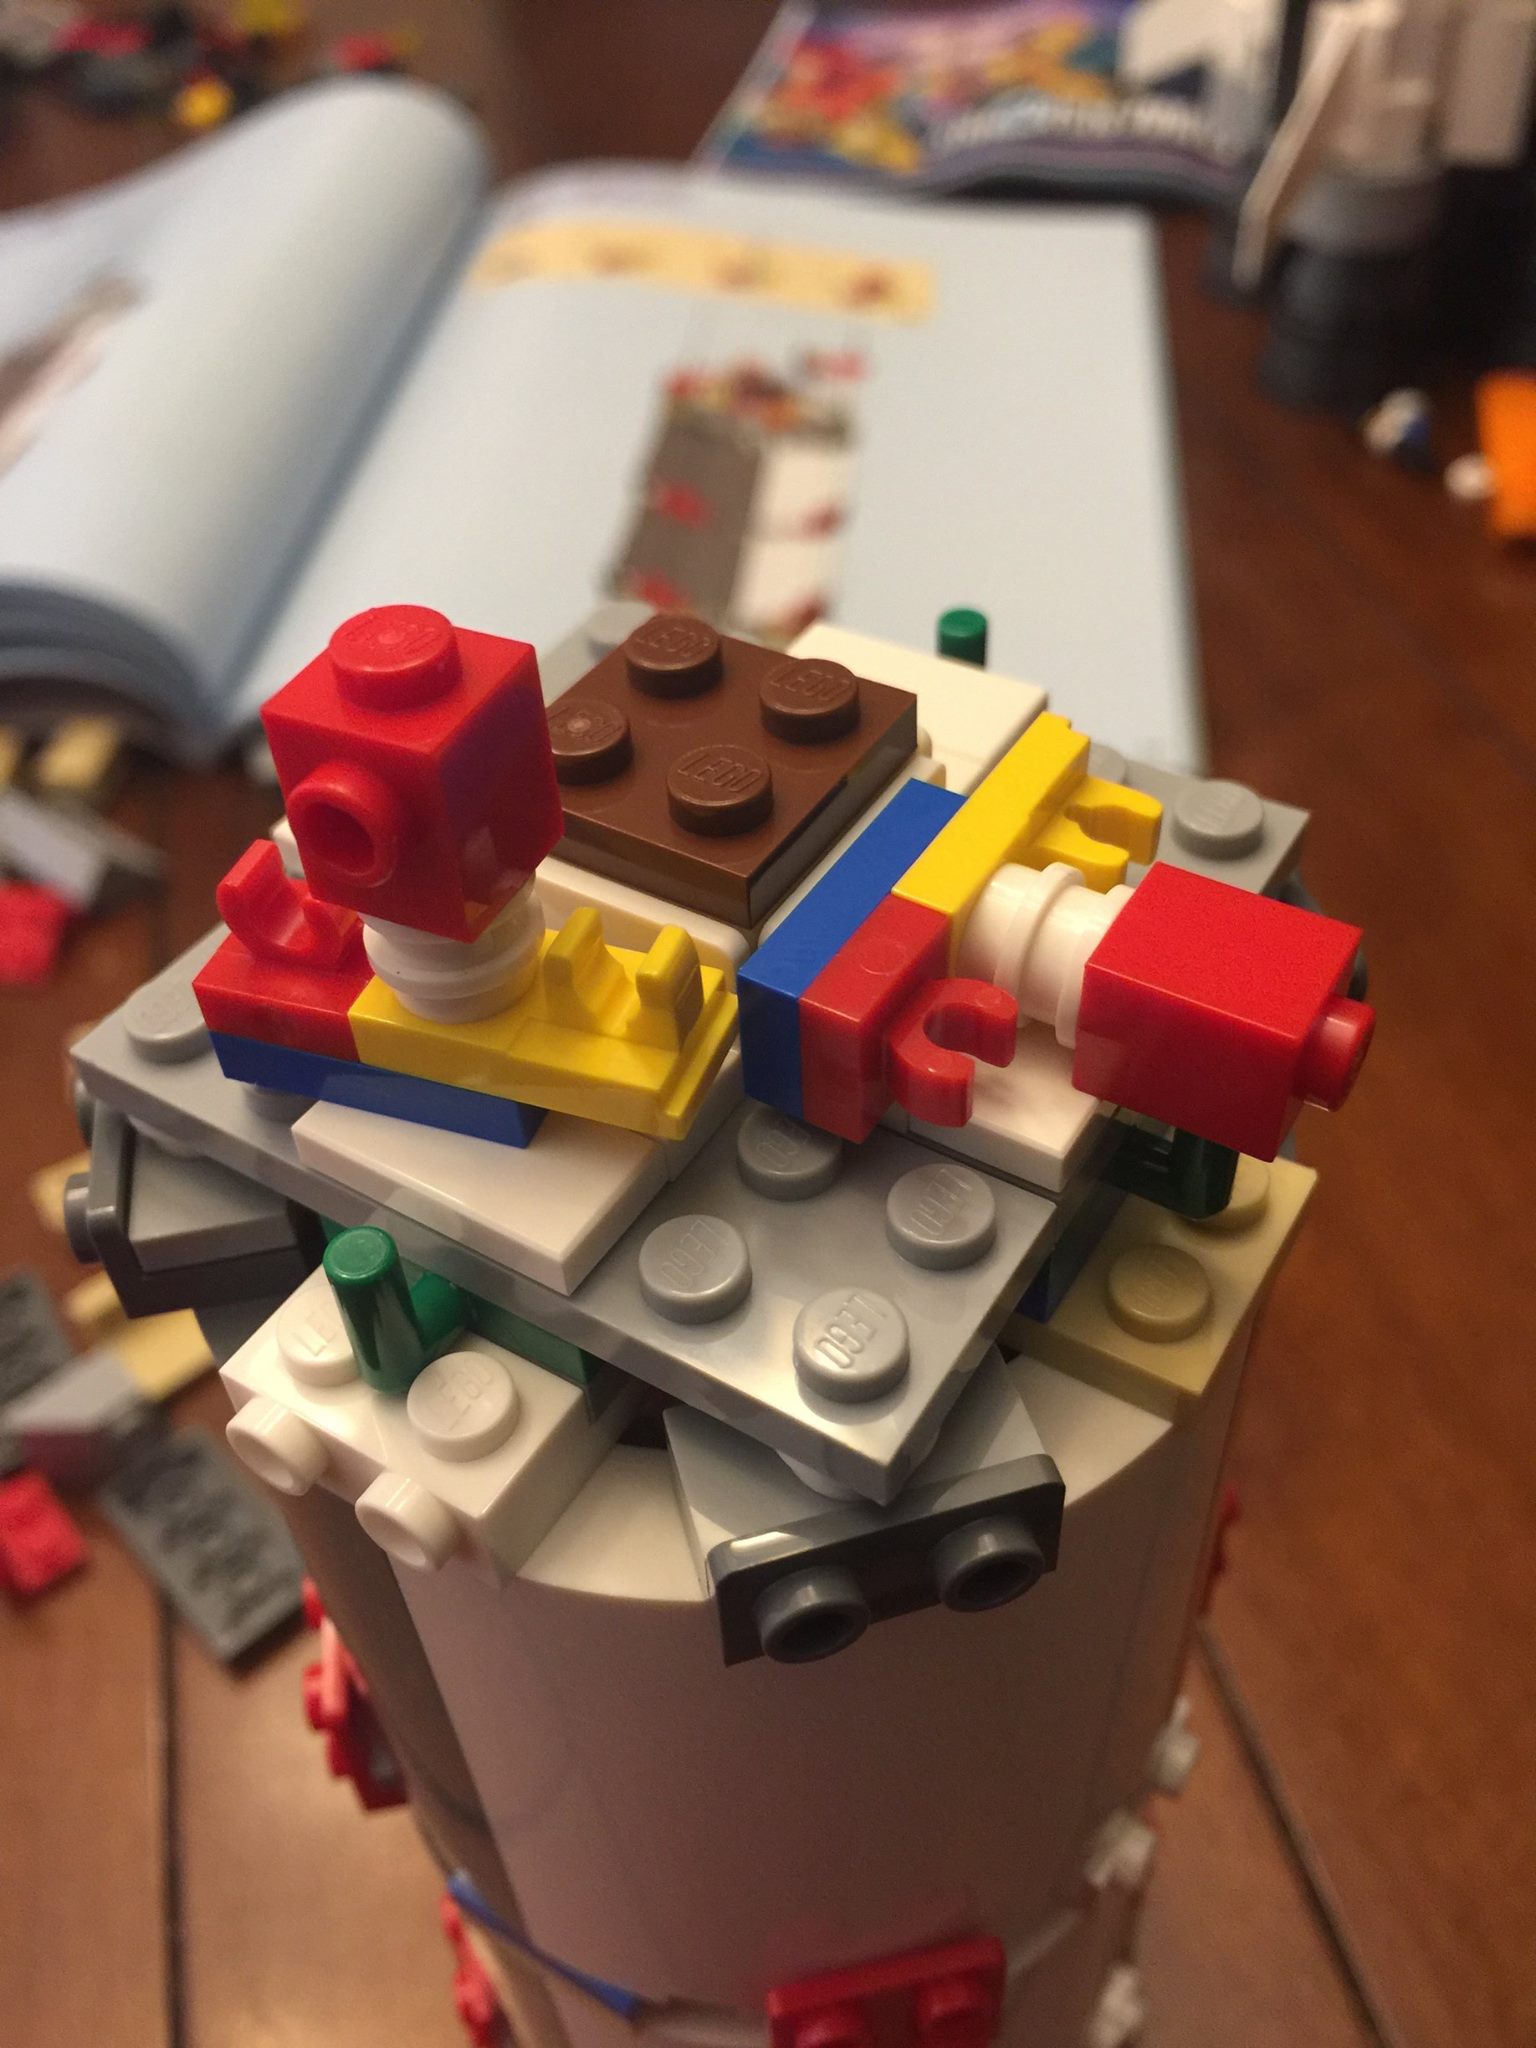
The third stage continues the cylinder look by using the sloped pieces, as well as the clever use of ball joints to attach four panels to help “round out” the cylinder. There are some grey pieces mixed in, as well as some elements that stick out, just to add to the authentic look of the rocket. The single J-2 engine continues the use of the transparent orange tile inside of a silver wheel piece. At the top of the third stage is a satellite dish topped with a 4×4 round plate with a knob. The landing module attaches to the knob. Surrounding the cargo are some round bricks, and two halves of a cone. These pieces can be easily removed to expose the cargo, which would happen during flight.
The top of the rocket is the launch escape system. In the event of an emergency, this rocket would pull the Command Module away from the rocket to safety. It is jettisoned after 2nd stage ignition. The very top of the escape system is the Q-Ball cover, or in the case of LEGO®, a 1×1 nose cone. The cover would come off and expose instruments used in flight. Once the launch escape system was jettisoned, a cover would be pulled away as well exposing the Lunar Module. Since this would be difficult to accomplish in LEGO®, we must swap out the white command module for the printed blue-grey one atop the Apollo Service Module.
The printing on the Command Module is nicely done, and includes windows and hatch. The combined Command/Service Module can be docked to the Lunar Module. This is done by separating the Command/Service module from the adapter, doing a 180˚ flip, and then docking with the Lunar Module.
Once the landing site is in range, the Lunar Module, now carrying two of the three astronauts, separates and begins the descent to the lunar surface. In this case, it is an octagonal shaped plate. Here you can place two of the microfigs, and quite possibly one of my favorite elements, a 1×2 clear tile with the United States Flag printed on it. The Lunar Module has a printed element showing windows and a hatch. The only thing missing is the ladder! When it is time to go home, the top of the Lunar Module separates from the descent stage and blasts off to join back with the Command Module. The ascent stage easily separates from the descent stage so you can replicate this as well.
The designers even included the finale of our trip to the moon. The splash down! The Command Module separates from the Service Module and Ascent Stage of the Lunar Module. LEGO® included a dark blue 8×8 round plate to simulate water. the Command Module is surrounded by a flotation collar that would be attached by a rescue swimmer. On top are three balloons to upright the module if it had landed upside down.
Overall, this is set is one of my favorites to date! The history behind what man accomplished is captured beautifully in this set and it joins set 10231 – Shuttle Expedition, as a tribute to past spaceflight.